Press on Nails
The Effortless Elegance of Press On Nails
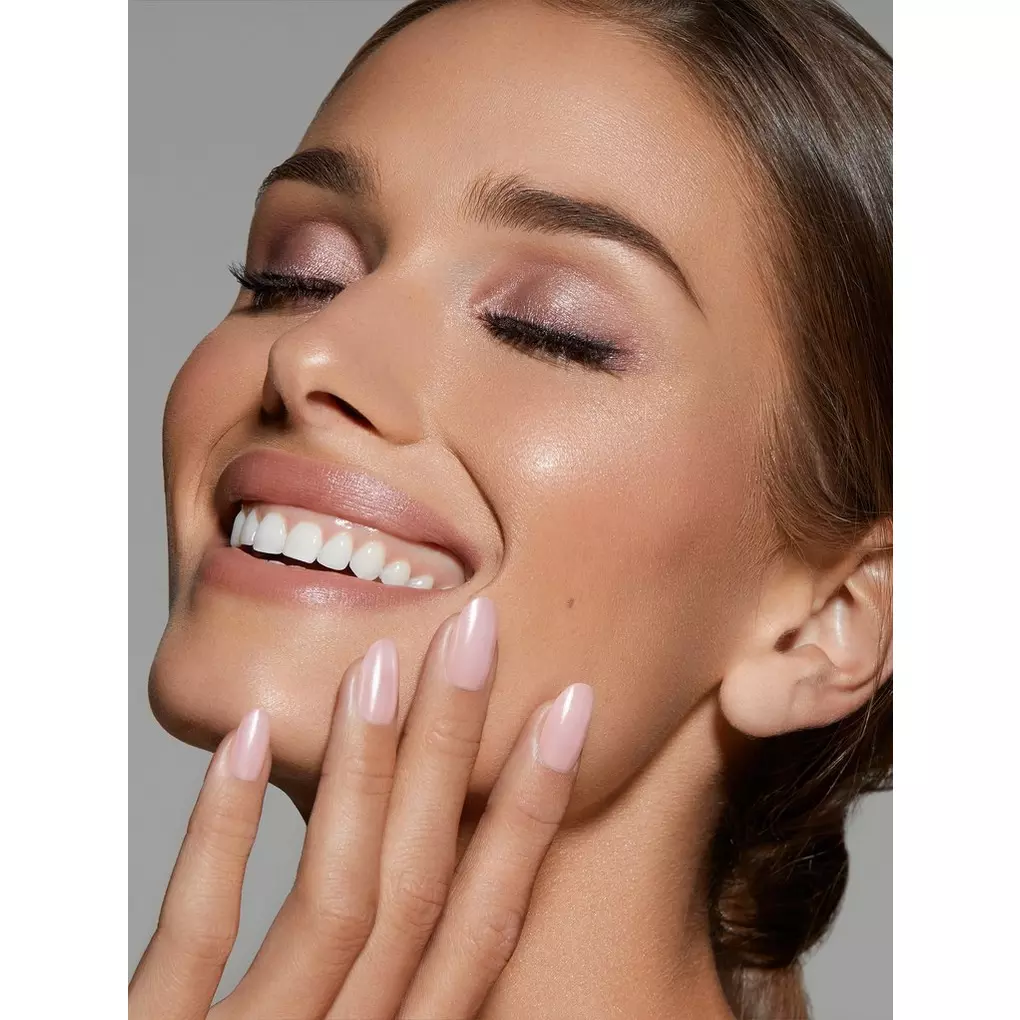
In today’s fast-paced world, convenience reigns supreme. Press on nails provide an instantly glamorous manicure without the hassle or time commitment. These 100% reusable nail coverings come pre-shaped and polished. A simple adhesive secures them atop the natural nails for a flawless finished look. Press ons deliver fashion-forward nail art with zero dry time.
The History Behind Press On Nails
While many view press ons as a modern nail trend, their origins trace back centuries. Ancient Egyptians utilized ivory and bone tips affixed over nails to mimic a groomed, elongated appearance.
Modern artificial nail enhancements emerged in the 1950s Hollywood era. Creative types like makeup artists and hairstylists experimented with scratch-resistant plastic nail caps to avoid chips and smudges. Press on nails gained mainstream popularity in the 1980s as acceptable workplace and formal event wear.
Today, brands like Static Nails, Marmalade, DandyNail, and Kiss make press on nails affordable and accessible for everyone. High-end options feature premium materials and intricate designs for runway-ready looks. Reusable press ons allow anyone to achieve magazine-cover nails instantly at home or on-the-go.

Demystifying Press On Nail Application
Apprehensive newcomers may imagine press ons appearing too fake or unwieldy. Proper application yields natural-looking results that stay put.
Start by gently pushing back the cuticles and cleaning the nails. Trim and buff away ridges so the surface remains smooth. Buff the nail beds ever-so-slightly with a fine grit buffer.
Next, measure your natural nails against the provided sizing guides. Press on nail sets usually contain 20+ size options. Matching the proper fit allows a seamless blend with the natural nail.
File the press on tips as needed to mimic your desired nail shape. Using an adhesive disc or glue, apply a thin, even layer atop the natural nail only. Avoid layering the adhesive over the tip – this prevents premature lifting.
Firmly press and hold each artificial nail overtop the natural nail for 10-20 seconds. The adhesive cures and molds the press on into place. Finish with cuticle oil or cream around the nail base.
With a bit of patience and practice, crisp, long-lasting press on application becomes a breeze. Their versatility even allows creative custom shaping, trimming, or decorating.

The Endless Design Options
Press on nail sets offer virtually limitless lengths, shapes, colors, and designs to match every mood and occasion:
Solids – Single color nails in every polish shade imaginable
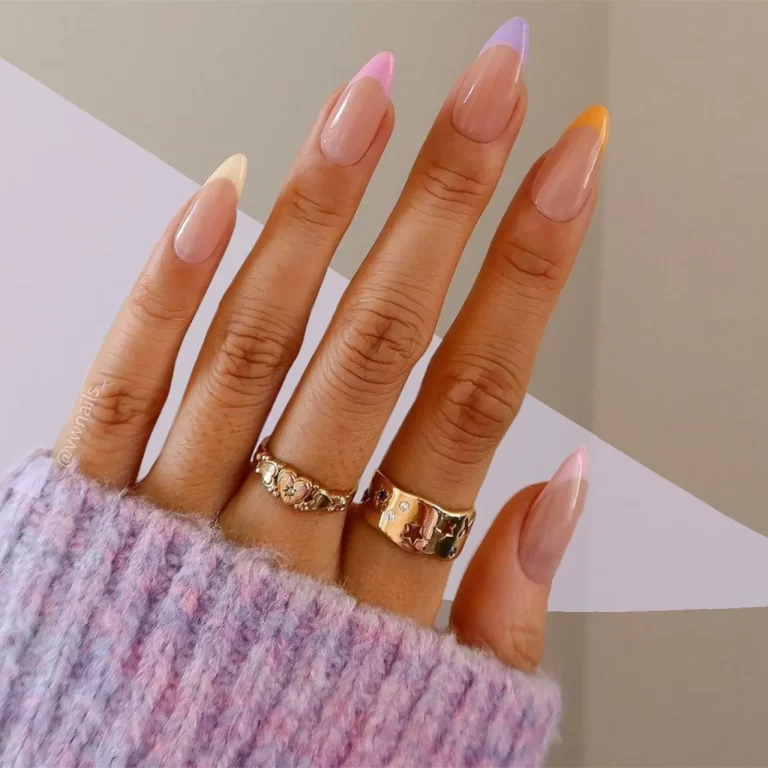
Nudes/Neutrals – Soft nudes and sheer French tips for an understated effect
Glitters/Metallics – Dazzling glitters, chromes, and mirror metallics for endless shine
Whites/Brights – Crisp whites and vibrant neons stand out
Opaques – Matte, opaque neutrals with a velvety finish
Ombres/Fades – Beautiful gradient transitions from light to dark
Nail Art – Intricate patterns, prints, embellishments, and textures
Many brands even offer “customizables” – blank artificial nails begging for personal decoration. Paint, stamp, or embellish them to create unique DIY nail art easily.
Savvy brands continue raising the bar, taking cues from high fashion runways and trends. Collections now include 3D jewelry pieces, chrome reflective mirror finishes, mixed textures, and mind-boggling elements.
The Benefits of Choosing Press Ons
Press on nails continue gaining popularity for a myriad of reasons:
- Cost Effective – A quality reusable press on set costs $10-$15 versus $30+ for gel manicures.
- Quick and Easy – Application takes 15-30 minutes versus 1-2 hours for traditional manicures.
- Low Maintenance – No drying time plus minimal daily upkeep for 1-2 weeks wear.
- Versatile – Options exist for every length, shape, style, and occasion imaginable.
- Protective – Create an artificial, damage-proof surface over natural nails.
- Flexible – Customize sizing, trimming, and shaping for the ideal fit.
- Temporary – The removable aspect means a simple soak eliminates press ons whenever desired.
With their ease of use and zero dry time, press ons allow matching manicures to every outfit effortlessly. Unlike smudge-prone polishes, these nail coverings maintain their just-applied look for up to two weeks.

Application Tips for Perfecting Press Ons
Mastering press on application takes some initial experimentation:
- Nail Prep – Clean, dehydrated nails plus lightly buffing the surface ensures an optimal adhesive bond.
- Fit Testing – Measure nails against the size guides, trimming and shaping beforehand to guarantee the proper fit.
- Adhesive Amount – A little adhesive goes a long way. Too much causes slippage and messiness.
- Seal Adhesive – Wrap the nail tips with the plastic sealers included to prevent early lifting or chipping.
- Activator Spray – Some brands recommend a final activator spray for a longer-lasting hold.
- Alcohol Removal – Avoid beauty oils, lotions, and household solvents which may deteriorate the adhesive bond.
With practice and some trial/error, press on application becomes quick and straightforward. The payoff delivers an enviably professional manicure for a fraction of the salon price.
Ensuring Longevity with Press Ons
Proper application provides the foundation, but maintenance maximizes press on wear:
- Daily Sealing – Top coat or brush on nail sealant reinforces the adhesive daily for extended longevity.
- Cuticle Oil – Hydrating oils prevent lifting around the cuticle area and renew flexibility.
- Cool Water – Limit hand submersion in hot water which causes premature lifting.
- Nail Files – Keeping nails seamlessly shaped prevents snags and premature breakage.
- Touch Up Shine – Quickly buffing dull nails restores the just-applied gleam in minutes.
Paying attention prevents unnecessary damage or slippage. With some periodic TLC, most quality press on nails achieve a solid 1-2 weeks of flawless wear before replacements become necessary.

When It’s Time to Remove Press Ons
Even the most well-applied press ons eventually need replacement due to nail regrowth. Attempt to reuse each set around 4-5 times maximum before replacing.
To remove, fill a small bowl with acetone-free nail polish remover or pure acetone. Soak the fingers for 15-30 minutes until the adhesive bond loosens. Use an orangewood stick to gently pry off each press on nail.
Avoid peeling or prying which damages the natural nail surface and cuticles. A little patience during the soak removal goes a long way.
Once removed, the adhesive may leave some residue on the natural nails. Buffing with a soft file gently removes these remnants. Finish with hydrating oil or cream to renew flexibility and shine.
Reusable press ons offer an instant yet inexpensive way to renew manicured glamour regularly. Their versatile styles and hassle-free wear make them an increasingly popular choice.

