Tape In Extensions Placement: Tips for Perfect Application
Tape-in extensions have revolutionized the hair extension industry, offering a seamless and natural way to add length and volume to your hair. However, achieving the perfect look relies heavily on the correct tape in extensions placement. Proper placement not only ensures a natural appearance but also guarantees the longevity and health of both your natural hair and the extensions. In this comprehensive guide, we will delve into the intricacies of tape-in extensions placement, discussing the best practices, tips for different hair types, and maintenance techniques to keep your extensions looking flawless. By understanding the nuances of placement, you can enhance your beauty routine and enjoy stunning, natural-looking hair every day.
 Introduction to Tape-In Extensions
Tape-in extensions are a popular choice for enhancing hair length and volume. They are lightweight, seamless, and easy to manage. Proper understanding of these extensions ensures a successful and natural-looking application process.
What Are Tape-In Extensions?
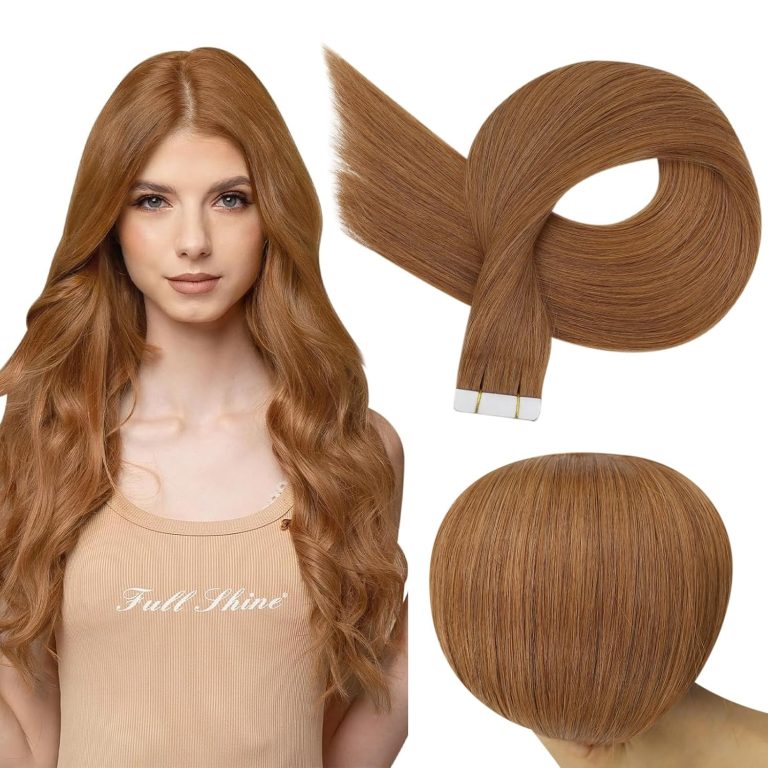
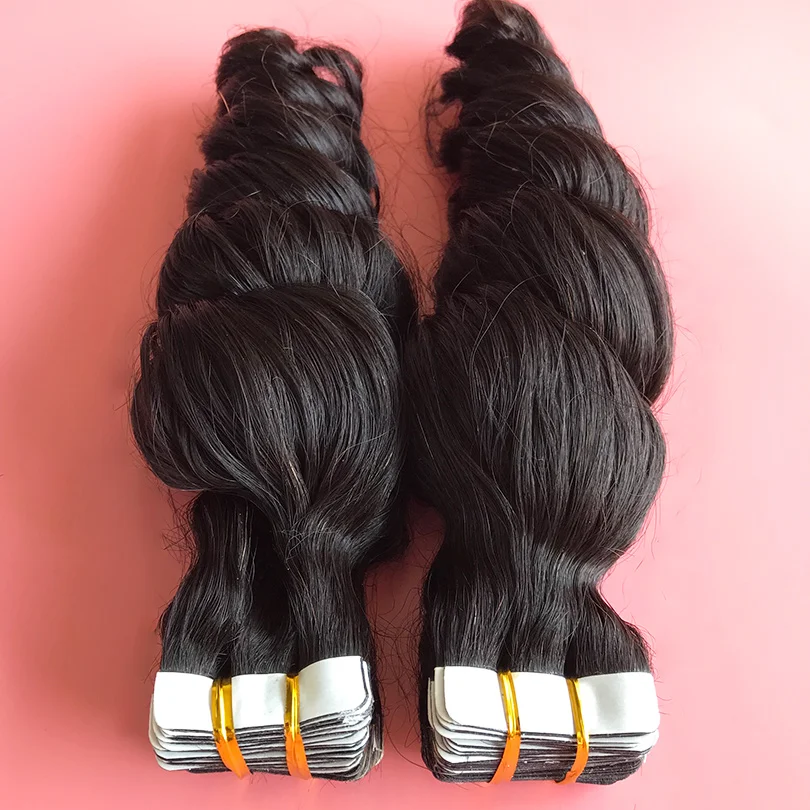
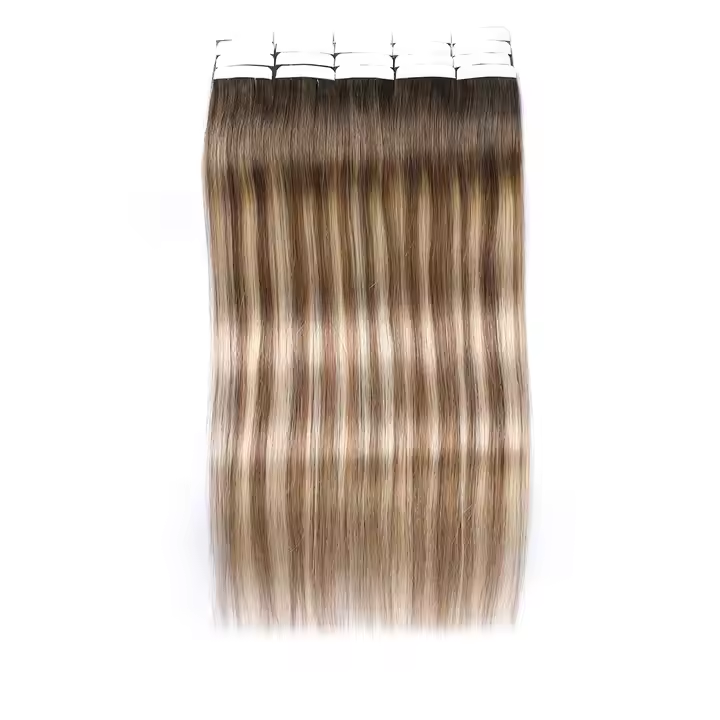
Tape-in extensions are pre-taped wefts of hair applied to natural hair. They use medical-grade adhesive to attach securely. These extensions are known for their thin and flat bonds. This feature allows them to blend well with your natural hair. They come in various lengths, colors, and textures, making them versatile. Both synthetic and human hair options are available, but human hair offers the most natural look.
Benefits of Tape-In Extensions
Tape-in extensions offer many advantages over other methods. They are quick to install, taking only 1-2 hours. They are lightweight, making them comfortable for daily wear. These extensions are also reusable, requiring proper maintenance for several uses. They work well for various hair types and add volume seamlessly. Additionally, their flat design ensures a discreet appearance, making styling easy.
Preparation Before Placement
Proper preparation is essential for a successful tape in extensions placement. Follow these steps to ensure a smooth process and long-lasting results.
Choosing the Right Extensions for Your Hair Type
Selecting the correct extensions is crucial for achieving a natural and seamless look.
- Hair Thickness: Thin, thick, or curly hair requires specific extensions for proper blending.
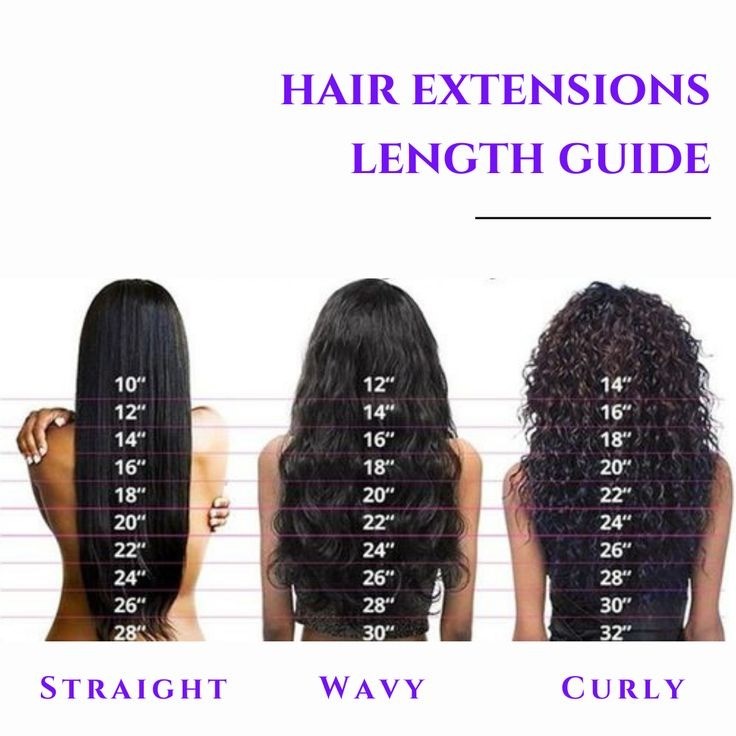
- Length: Choose extensions that suit your desired length and natural hair.
- Material: Human hair is ideal for a natural appearance, while synthetic options are budget-friendly.
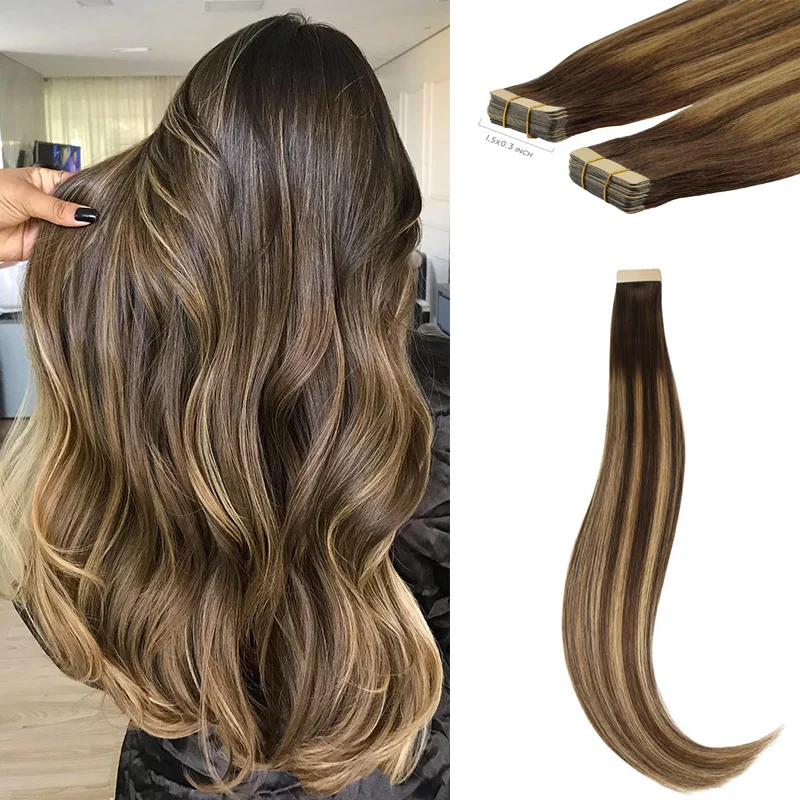
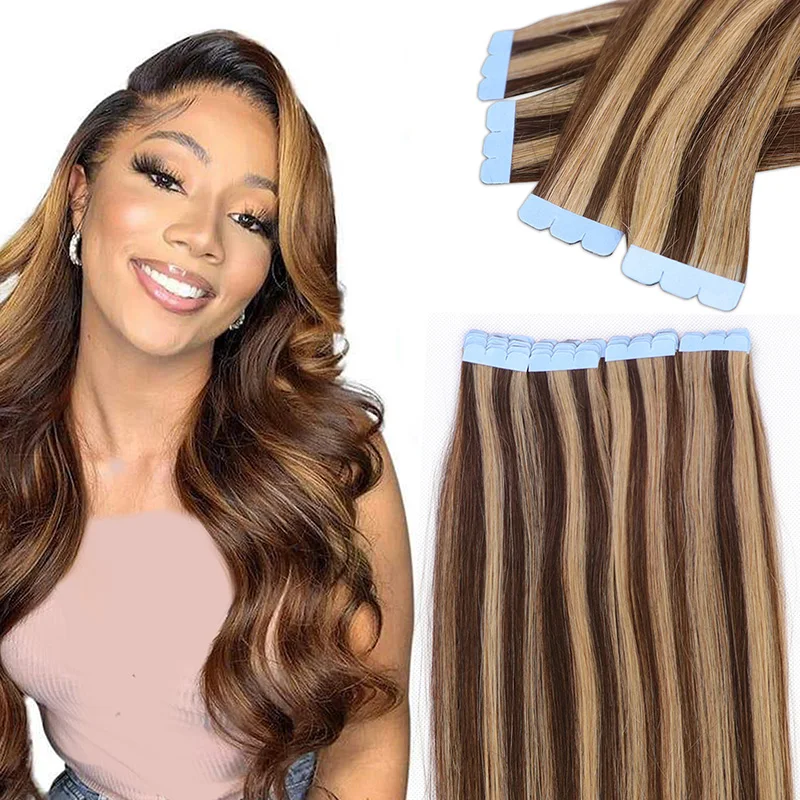
- Color Matching: Pick extensions that match your natural hair color or include highlights for variations.
- Texture: Ensure your extensions align with your hair’s natural texture for easy styling.
Taking the time to choose carefully prevents mismatched results and ensures proper tape in extensions placement.
Tools and Materials Needed
Gather all necessary tools and materials before starting the installation process. These include:
- Extensions: Prefer high-quality tape-in extensions.
- Rat-Tail Comb: Ideal for parting and sectioning.
- Hair Clips: Keep sections separated when attaching extensions.
- Clarifying Shampoo: Use this to cleanse the hair before installation.
- Flat Iron: Necessary for securing the tapes effectively.
- Adhesive Remover: For easy corrections, if needed.
Proper tools and materials save time and reduce the risk of mistakes.
Hair Care Prior to Installation
Preparing your natural hair ensures strong adhesion and longer-lasting results.
- Wash Your Hair: Use a clarifying shampoo to remove oil and product buildup.
- Avoid Conditioner: Skip conditioner to prevent slipperiness that weakens tape bond.
- Dry Completely: Ensure your hair is completely dry before starting.
- Detangle Hair: Brush out all knots and tangles carefully.
- Trim if Necessary: Freshly trimmed ends create a clean base for attachment.
By focusing on these preparation steps, you can achieve flawless tape-in extensions placement that lasts longer.
 Step-by-Step Guide to Installing Tape-In Extensions
A flawless tape-in extensions placement requires a systematic approach. Follow these steps to achieve professional results.
Sectioning Hair for Placement
Proper sectioning creates a smooth base for attaching tape-in extensions. Follow these steps:
- Divide the Hair: Use a rat-tail comb to create horizontal sections.
- Start from the Bottom: Begin with the lowest layer near the nape of your neck.
- Clip Away Excess Hair: Use hair clips to secure the unused sections.
- Work in Small Sections: Each section should have thin layers for easy attachment.
- Leave Space: Keep a half-inch from the roots to avoid tension or discomfort.
This method ensures even placement, with no tangling or unevenness.
Applying Extensions Correctly
Follow these tips to attach tape-in extensions accurately:
- Peel Off the Backing: Remove the backing to expose the adhesive side.
- Sandwich Hair Strands: Place a thin section of natural hair between two extensions.
- Align Precisely: Ensure the extensions match evenly on both sides of the hair strand.
- Press Firmly: Use your fingers to press the tapes together for a secure bond.
- Double-Check Each Piece: Verify that no hair is stuck outside the tape.
This detailed approach prevents visible tapes and enhances comfort.
Ensuring Proper Adhesion
To ensure tapes stay secure, follow these guidelines:
- Flat Iron Application: Apply a flat iron on a low heat setting to seal the adhesive.
- Avoid Overheating: Briefly press on the tapes without lingering too long.
- Check Bond Stability: Ensure each piece adheres well with no slipping.
- Let It Settle: Avoid washing or excessive styling for 48 hours post-installation.
Correct adhesion ensures your tape-in extensions placement lasts longer and looks seamless.
 Placement Techniques for Different Hair Types
Different hair types require specific placement techniques for tape-in extensions. Proper techniques ensure a natural look.
Fine Hair Placement Tips
Fine hair needs delicate handling to avoid damage and ensure the extensions blend seamlessly.
- Use Lightweight Extensions: Select lighter extensions to avoid pulling on thin hair strands.
- Smaller Sections: Work with thinner sections to prevent stress on your natural hair.
- Place Strategically: Attach extensions away from the crown for a discreet appearance.
- Avoid Overloading: Limit the number of extensions to maintain a natural look.
- Flat Iron with Caution: Use low heat settings for adhesive activation to protect fine hair.
Thick Hair Placement Tips
For thick hair, focus on even distribution and smooth blending for a polished result.
- Use Sturdier Extensions: Opt for higher-density extensions that match hair thickness for balance.
- Layer Effectively: Create more sections for even placement across the scalp.
- Sandwich Wider Strands: Use larger hair strands between tapes for secure bonding.
- Check Symmetry: Ensure extensions are aligned evenly for consistent blending.
- Style Naturally: Blend extensions effectively through styling to make them look natural.
Curly Hair Placement Techniques
Curly hair extensions require thoughtful placement to align with the hair’s natural texture.
- Choose Curly Extensions: Match the curl pattern of extensions with your hair texture.
- Part Precisely: Section hair carefully to maintain defined curls during installation.
- Avoid Straightening: Keep your curls intact to blend naturally with extensions.
- Secure Firmly: Use finger pressure to ensure tape adhesion without flattening curls.
- Comb with Care: Avoid pulling curls during placement to prevent frizz.
Proper placement techniques cater to each hair type for a seamless tape-in extensions application.
Common Mistakes to Avoid
Even with proper preparation, mistakes can happen during tape-in extensions placement. Avoid these common pitfalls to ensure a flawless result.
Misalignment of Extensions
Misaligned extensions can lead to discomfort and an unnatural look. Follow these guidelines to achieve accurate placement:
- Check Alignment Before Pressing: Ensure the extensions are perfectly aligned on each side before securing.
- Use a Mirror: Regularly check placement with a mirror to avoid uneven application.
- Work in Thin Sections: Thick hair sections can cause tapes to stick poorly, leading to misalignment.
- Take Your Time: Avoid rushing the placement process to ensure precision.
Proper alignment guarantees natural blending and a comfortable fit.
Overloading Hair with Extensions
Using too many extensions can strain natural hair and create discomfort. To avoid overloading:
- Prioritize Balance: Distribute extensions evenly across your scalp for uniform weight.
- Match Hair’s Capacity: Avoid applying extensions that exceed your hair’s ability to hold them.
- Monitor Layers: Stick to a manageable number of layers to ensure secure attachment.
- Consult a Specialist: Seek professional advice if unsure about the number of extensions suitable for your hair.
Moderation ensures long-lasting results and prevents hair damage.
Skipping Adhesive Activation
Failing to activate the adhesive properly results in weak bonds and slipping. Follow these steps for effective activation:
- Use a Flat Iron: Press gently on each tape with low heat for a secure bond.
- Apply Even Pressure: Ensure consistent pressure across the tapes for proper sealing.
- Avoid Water for 48 Hours: Keep hair dry to allow the adhesive to fully set.
- Check Stability: Test each bond to ensure no slipping before proceeding to the next section.
Strong adhesive activation ensures durability and prevents premature detachment of the extensions.
By avoiding these mistakes, your tape-in extensions placement will stay secure and look natural.
 Maintenance Tips After Installation
Proper care is essential for maintaining your tape-in extensions’ lifespan and appearance. Follow these simple tips to ensure they stay secure and beautiful for weeks.
Proper Washing Techniques
Washing tape-in extensions requires special attention to avoid loosening the adhesive. Follow these steps:
- Wait 48 Hours Post-Installation: Avoid washing your hair for 48 hours after placement to let the adhesive set.
- Use Sulfate-Free Shampoo: Choose shampoos without harsh chemicals to prevent weakening the tape.
- Wash Gently: Apply shampoo softly to the scalp without tugging at the extensions.
- Condition from Mid-Lengths Down: Use conditioner only on the hair ends to prevent slippery tapes.
- Rinse Thoroughly: Ensure no residue is left, as this can weigh down the extensions.
Proper washing helps preserve the extension bonds and keeps your hair healthy.
Brushing and Styling Guidelines
Brushing and styling require care to prevent pulling or loosening the extensions. Keep these tips in mind:
- Use a Soft-Bristled Brush: Select a brush designed for extensions to avoid damaging the tapes.
- Brush Gently: Start at the ends and work your way up to avoid pulling on the tapes.
- Avoid Heat Near the Adhesive: Use styling tools at low heat settings and avoid applying heat to the tapes.
- Tie Your Hair Before Sleeping: Secure your hair in a loose braid or ponytail to avoid tangling during sleep.
- Avoid Sticky Products: Do not use oil-based or sticky styling products near the adhesive.
These steps will keep your hair looking arranged and your tape-in extensions secure.
Frequency of Reapplication
Reapplying tape-in extensions at the right intervals ensures durability and maintains a seamless look. Follow these guidelines:
- Schedule Regular Reapplications: Reapply every 6-8 weeks as the natural hair grows out.
- Monitor Placement: Check for slippage or loosening as an indicator for reapplication.
- Reuse Extensions: High-quality extensions can be reused with fresh adhesive tapes.
- Professional Assistance: Visit a stylist for a professional touch if you’re unsure about DIY adjustments.
- Avoid Delays: Timely reapplication prevents stress on natural hair and keeps the extensions in place.
By following these tips, your tape-in extensions will last longer and remain flawless.
Troubleshooting and Removal
Tape-in extensions sometimes face issues like slippage or tangling. Proper techniques ensure smooth troubleshooting and removal.
Addressing Slippage or Tangling
Slippage or tangling can affect your extensions. Use these tips for effective troubleshooting:
- Check Adhesive Bonds: Inspect extensions for loose adhesive and reposition if necessary.
- Avoid Overloading Hair: Reduce the number of extensions for a better hold.
- Use Anti-Tangle Spray: Apply a gentle detangler to control knots without loosening tapes.
- Brush Carefully: Use a soft brush to remove tangles without tugging on the extensions.
- Consult a Stylist: Seek professional advice for severe slippage or tangling issues.
Quick fixes and careful handling keep your extensions secure and tidy.
Safely Removing Tape-In Extensions
Removing tape-in extensions requires patience and the right method. Avoid damage by following these steps:
- Use Adhesive Remover: Apply a quality remover to loosen the adhesive gently.
- Massage the Area: Rub the remover into the tape for easier detachment.
- Separate Extensions Slowly: Peel the tape off carefully to avoid pulling your hair.
- Clean Residue: Remove leftover adhesive using a remover or gentle shampoo.
- Condition After Removal: Apply conditioner to restore moisture to your hair.
Safe removal ensures your natural hair stays healthy and unharmed.
Conclusion: Perfect Your Tape-In Extensions Placement for Stunning Results
Mastering tape in extensions placement is the key to achieving natural, beautiful, and long-lasting hair enhancements. By following the best practices outlined in this guide, you can ensure that your extensions blend seamlessly with your natural hair, providing the volume and length you desire without compromising hair health. Whether you’re new to tape-in extensions or seeking to refine your placement techniques, understanding the importance of proper placement and maintenance will lead to stunning and effortless results. Embrace these strategies to elevate your hair game, enjoy lasting beauty, and revel in the confidence that comes with perfectly placed tape-in extensions.