How to Put in Tape in Hair Extensions for a Flawless Look
Achieving luscious, voluminous hair has never been easier with the advent of tape-in hair extensions. If you’ve been contemplating how to put in tape in hair extensions, you’re not alone. Many beauty enthusiasts seek this method for its natural look and seamless blend with their own hair. This comprehensive guide will walk you through the entire process, from preparation to maintenance, ensuring that you achieve the best results without any hassle. Whether you’re a seasoned stylist or a beginner looking to enhance your hairstyle, understanding how to put in tape in hair extensions correctly is essential for a flawless finish.
Contents
hide
 What Are Tape-In Hair Extensions?
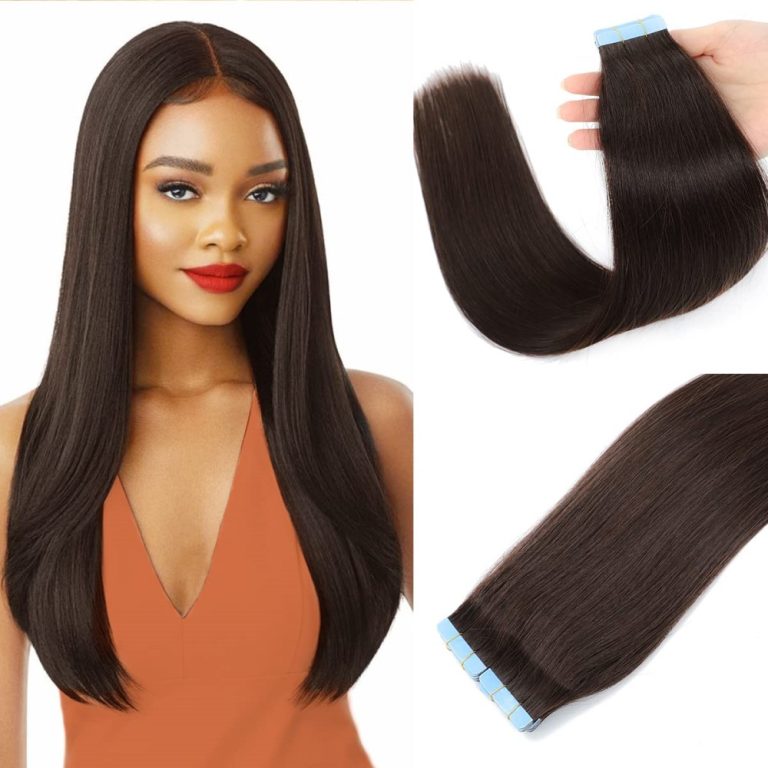
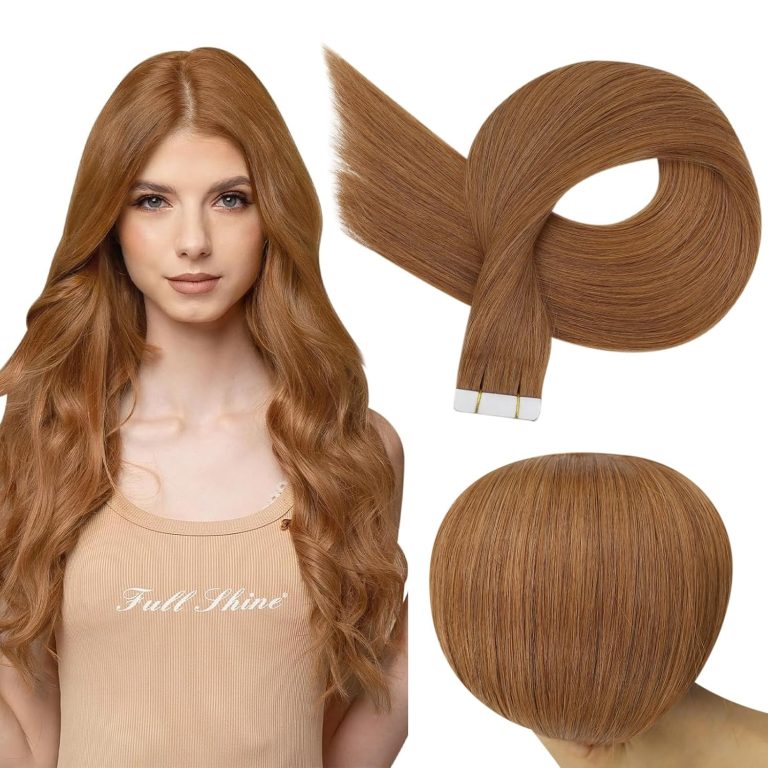
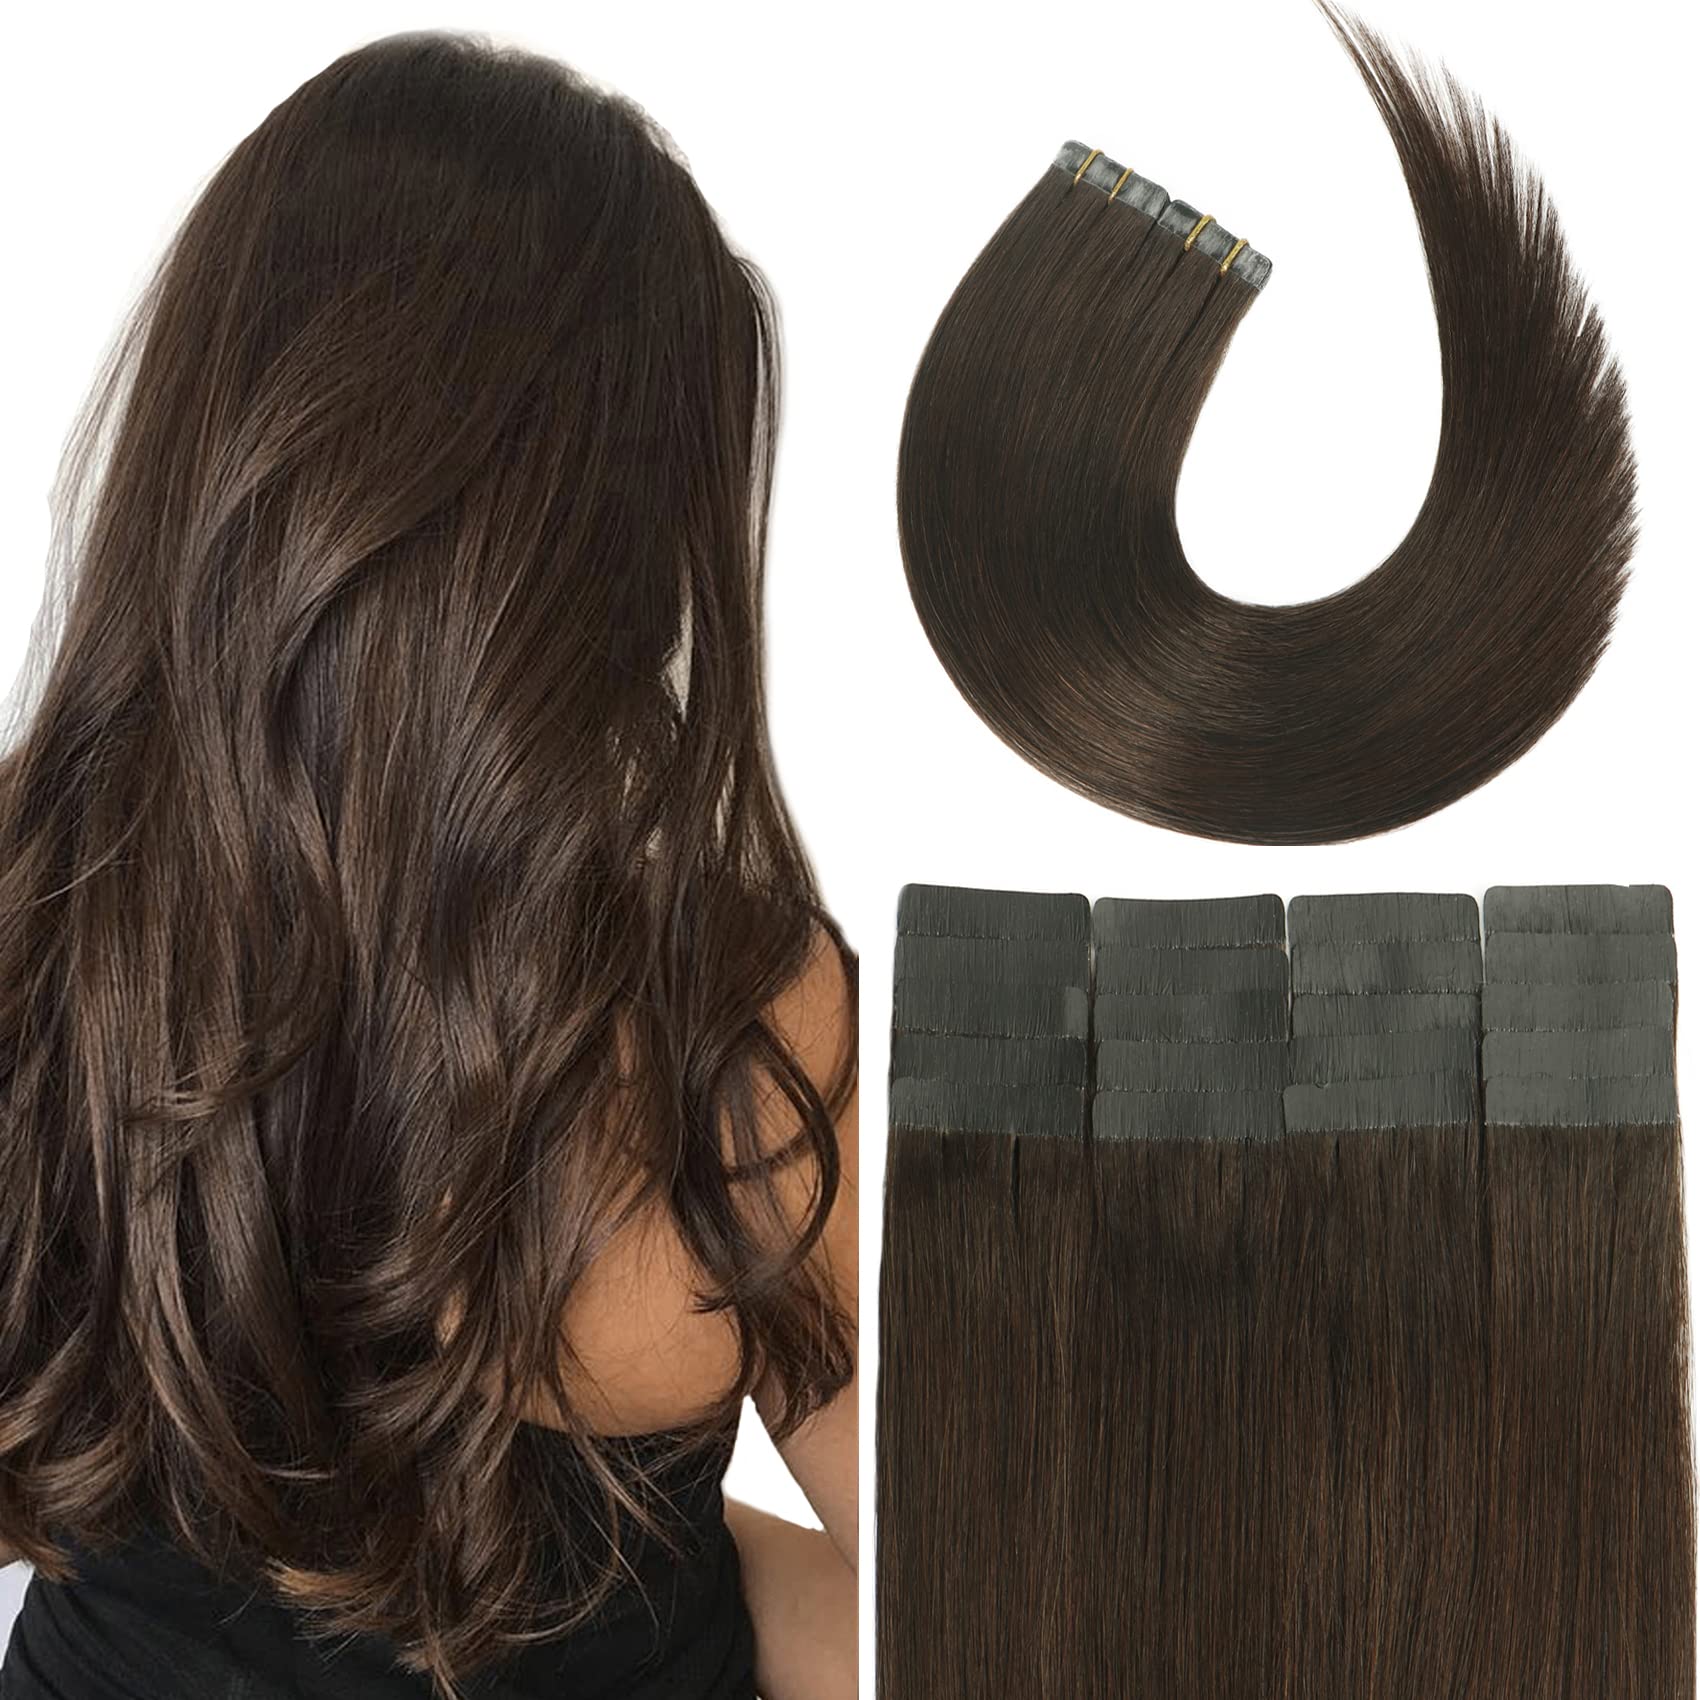
Tape-in hair extensions are thin, adhesive-backed hair pieces applied close to the scalp. They offer a natural and seamless look, making them popular for adding length and volume. The adhesive tape is safe and strong, ensuring the extensions stay in place for weeks.
Benefits of Tape-In Hair Extensions
- Natural Appearance: They blend seamlessly with your natural hair.
- Comfortable to Wear: Lightweight design ensures they don’t weigh down your scalp.
- Quick Application: The process takes less time compared to other extension methods.
- Reusability: High-quality tape-ins can be reused after proper removal and retaping.
- Damage-Free: They don’t require heat or glue, which minimizes damage to your hair.
How They Differ From Other Extension Types
- Application Process: Tape-ins use adhesive tape, while clip-ins use clips and sew-ins require braids.
- Durability: They last longer than clip-ins but may need more maintenance than sew-ins.
- Styling Options: Tape-in extensions allow for versatile styling compared to bulky clip-ins.
- Comfort: Tape-ins are lighter, avoiding the heavy feel of sew-ins or bulky clips.
- Maintenance: Easier upkeep compared to fusion or beaded extensions, as they don’t cause tangling.
Preparing Your Hair for Tape-In Extensions
Proper preparation ensures your tape-in extensions last longer and stay in place. Clean, well-prepared hair creates a strong foundation for secure application. Follow these steps carefully to avoid issues during and after the installation.
Hair Washing and Conditioning Tips
- Wash Your Hair Thoroughly: Use a clarifying shampoo to remove dirt, oils, and residue. Avoid heavy conditioners as they can leave a slippery coating.
- Avoid Oily Products: Skip any hair masks or treatments before application. Oils can interfere with the adhesive.
- Dry Your Hair Completely: Make sure your hair is 100% dry. Wet strands weaken the adhesive bond.
- Use Lightweight Products: Opt for a lightweight conditioner only on the ends of your hair. This keeps roots clean and ready for tape.
Ensuring Your Hair Is Free of Oils and Product Build-Up
- Clarifying Shampoo Helps: Use it before your extension appointment to eliminate product build-up and oils.
- Avoid Styling Products: Skip gels, sprays, or serums for at least 24 hours beforehand.
- Inspect Your Scalp: Check for any buildup near the scalp; clean again if necessary.
- Don’t Skip Prep Steps: Not fully prepared? Your extensions may slip or not properly adhere.
Following these preparation tips makes your tape-in extension experience smooth and hassle-free.
 Tools and Materials Needed for Tape-In Extensions
To achieve the best results with your tape-in extensions, using the right tools and materials is crucial. The proper equipment ensures a seamless application process and helps maintain the longevity of the extensions. Below is a breakdown of what you’ll need.
Essential Tools for Application
Having the right tools simplifies applying tape-in hair extensions. Here’s what you’ll need:
- Tail Comb: Helps create clean, precise hair sections for even application.
- Hair Clips: Keeps sections of hair in place while applying the extensions.
- Flat Iron: Secures tape bonds by applying slight heat for a better hold.
- Clarifying Shampoo: Prepares hair by removing oils, dirt, and residue before application.
- Scissors: For trimming extensions to match your desired length or style.
- Fine-Tooth Comb: Helps blend natural hair with the extensions for a seamless look.
Choosing the Right Tape-In Extensions
Selecting high-quality extensions ensures they last longer and look natural. Here’s what to consider:
- Hair Type: Choose 100% Remy human hair for the most natural blend with your hair.
- Adhesive Quality: Opt for strong, durable adhesives that won’t cause slippage.
- Color Match: Find extensions that match your hair color for a seamless finish.
- Length Options: Pick a suitable length, whether you want dramatic length or just added volume.
- Thickness: Thinner tapes are less noticeable and more comfortable to wear.
- Reusability: High-quality extensions can be reused multiple times if maintained well.
Getting the right tools and extensions ensures a smooth and successful process. With proper preparation and equipment, you’ll achieve a flawless look with your tape-in extensions.
Step-by-Step Application Process
How to put in tape in hair extensions? Applying tape-in hair extensions requires precision and careful attention to detail. Following these steps ensures a secure placement that looks natural and lasts long.
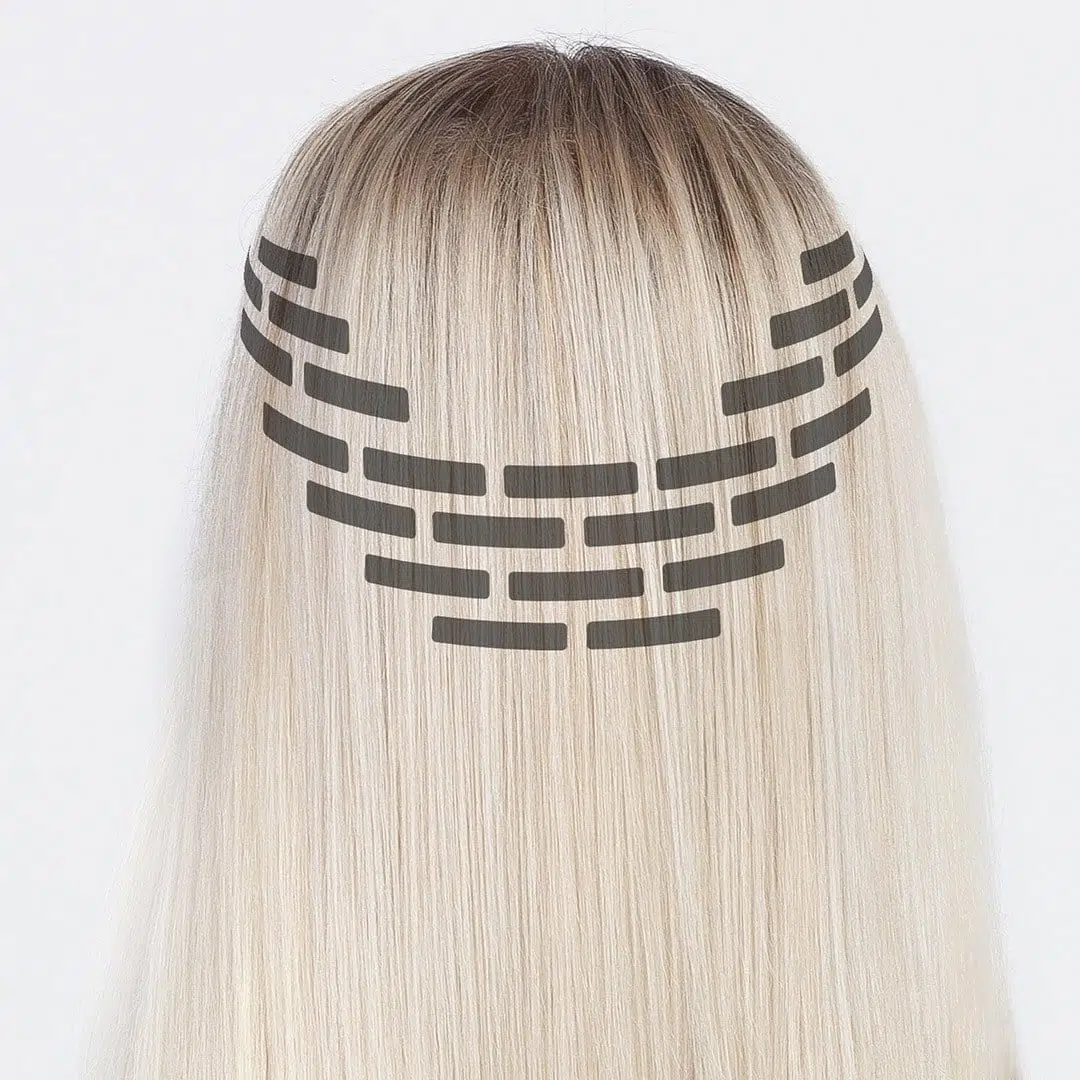
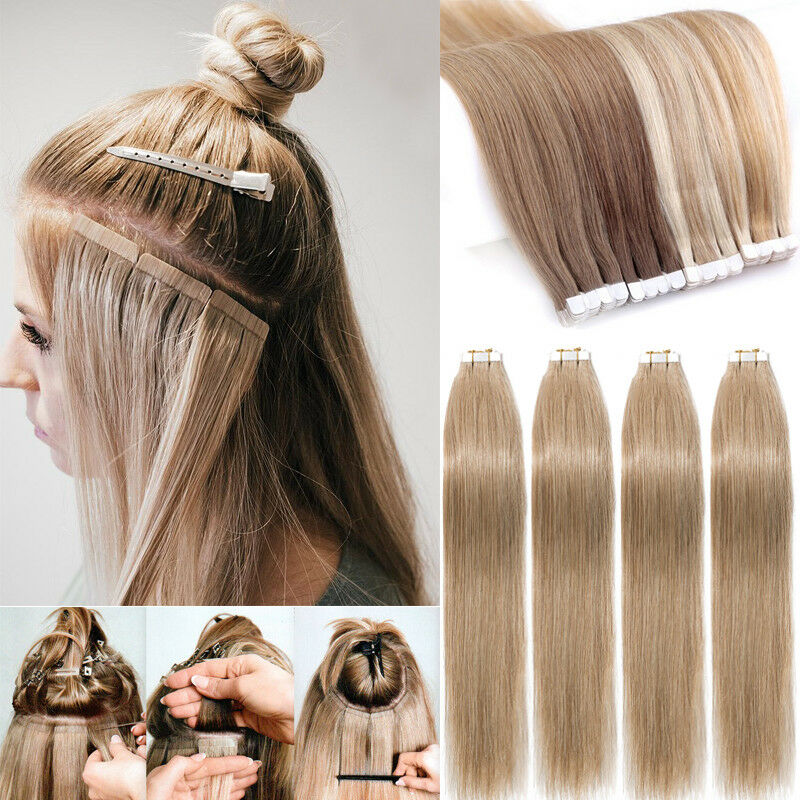
Sectioning Your Hair Properly
- Create Neat Sections: Part your hair into clean, straight sections using a tail comb. This ensures accurate placement.
- Start From the Bottom: Begin sectioning at the nape of your neck and work your way upward.
- Clip Away Excess Hair: Use hair clips to keep the sections you’ve already parted secure and neat.
- Even Spacing: Ensure sections of hair are evenly spaced for balanced application.
- Leave Room at the Roots: Avoid placing extensions too close to the scalp for comfort and durability.
Applying the Tape-In Extensions Correctly
- Remove the Backing: Peel off the backing from the tape side of the extension.
- Press the Tape to Natural Hair: Sandwich a thin section of natural hair between two tape extensions.
- Check for Alignment: Ensure both sides of the tape align perfectly for a secure bond.
- Apply Gentle Pressure: Press firmly to bond the tape with your hair. Avoid pulling or tugging.
- Use a Flat Iron: Apply slight heat with a flat iron to strengthen the adhesive, if needed.
Ensuring Secure Placement and Blending
- Blend Extensions with Natural Hair: Comb through gently to blend extensions with your hair.
- Check for Gaps: Look for any uneven or misplaced sections; adjust as needed.
- Avoid Overcrowding: Don’t add too many extensions in one area, as it can look bulky.
- Trim if Necessary: Use scissors to trim extensions for a natural finish.
- Style as Desired: Style your hair as normal, ensuring extensions remain discreet and seamless.
Following these steps guarantees a smooth installation process that achieves a professional and natural look.
 Tips for Maintaining Tape-In Extensions
Proper care is essential for keeping your tape-in hair extensions in great condition. Follow these tips to preserve their look and longevity.
Washing and Styling Hair with Extensions
- Use Sulfate-Free Products: Choose shampoos and conditioners without sulfates to avoid weakening the adhesive.
- Wash Gently: Massage your scalp gently, avoiding harsh scrubbing that may loosen the extensions.
- Avoid Overwashing: Overwashing strips moisture and can affect the adhesive bond. Limit washing to twice a week.
- Dry Hair Properly: Pat extensions dry with a towel and use a low-heat setting on your dryer.
- Use Heat Sparingly: Limit heat styling tools like flat irons and curling wands near the tape area.
- Detangle Carefully: Use a wide-tooth comb to detangle your hair gently, starting from the ends and working upward.
- Apply Heat Protectant: Protect your extensions when using hot styling tools to reduce damage.
These care strategies are key for maintaining your extensions’ clean, polished appearance.
Avoiding Common Mistakes That Can Damage Extensions
- Avoid Oil-Based Products: Oils can deteriorate the adhesive, causing the extensions to slip or fall off.
- Don’t Pull or Tug Hair: Rough handling can strain the extensions, leading to discomfort or damage.
- Skip Tight Hairstyles: Styles like tight ponytails can stress the tape bond and scalp.
- Avoid Chlorine and Salt Water: Cover your hair or avoid swimming pools and oceans, as these weaken the adhesive over time.
- Limit Chemical Treatments: Coloring or perming extensions may affect their quality and longevity.
- Regular Maintenance: Keep up with routine appointments to retape or adjust extensions as necessary.
By adhering to these care practices, you’ll ensure your tape-in extensions stay secure, beautiful, and damage-free for weeks.
Removing Tape-In Extensions Safely
Proper removal of tape-in hair extensions ensures your natural hair stays undamaged. Following the correct steps and using the right products will make this process hassle-free.
Products and Techniques for Proper Removal
- Adhesive Remover: Use a specially designed tape-in extension adhesive remover. Opt for an alcohol-based option for efficient results. Apply it directly to the tape to break the bond.
- Gentle Comb: Use a fine-tooth comb to carefully separate adhesive residue from your natural hair. Work slowly from the ends to the roots.
- Section Your Hair: Create small, neat sections using a tail comb. This helps target specific areas and prevents tangling.
- Peel Off Extensions Gently: Do not pull the extensions forcefully. Allow the remover to dissolve the adhesive fully before peeling.
- Rinse Residue: Wash your hair with a clarifying shampoo post-removal to clean any leftover residue.
- Condition Thoroughly: Follow up with a deep conditioner to restore moisture after the adhesive remover.
- Inspect Your Hair: Check your scalp and strands for any remaining tape or build-up. Address it carefully if found.
How to Prevent Damage During Removal
- Avoid Forceful Tugging: Do not rip or force extensions out. It can tear or weaken your natural hair.
- Use Gentle Products: Always opt for professional adhesive removers to avoid irritation or hair breakage.
- Detangle First: Remove tangles before applying the remover. This reduces hair pulling or knotting during removal.
- Work in Sections: Small, manageable sections allow for more precision and reduce the chance of overworking any area.
- Condition After Removal: Post-removal care with hydration treatments strengthens and nourishes your natural hair.
- Patience is Key: Rushing through removal increases the risk of hair damage. Take your time for better results.
By using the right products and techniques, you can safely remove tape-in extensions while keeping your natural hair healthy and intact.
 Frequently Asked Questions About Tape-In Extensions
Can Tape-In Extensions Be Reused?
Yes, tape-in extensions can be reused if properly maintained. Clean the adhesive residue before retaping them. Use high-quality replacement tape for a secure bond. Avoid damaging the tapes during removal to preserve their condition. Reusable extensions can last for multiple applications if cared for correctly.
How Long Do They Typically Last?
Tape-in extensions usually last 6 to 8 weeks with proper care. Limit exposure to oils near the tape area to maintain adhesion. Schedule regular maintenance to reposition or retape them. Overwashing and mishandling can reduce their lifespan. Following a good care routine ensures longer wear.
Are Tape-In Extensions Right for Your Hair Type?
Tape-in extensions suit most hair types, including fine and medium textures. They blend seamlessly with natural hair if installed correctly. Thick hair may require additional extensions for even coverage. Consult a stylist to determine your suitability for tape-in extensions. Proper application ensures comfort and a natural look.
Expert Recommendations: Choosing the Best Tape-in Hair Extensions
Selecting the best tape-in hair extensions involves considering various factors such as quality, source, and brand reputation. Here are some expert recommendations to guide your purchase.
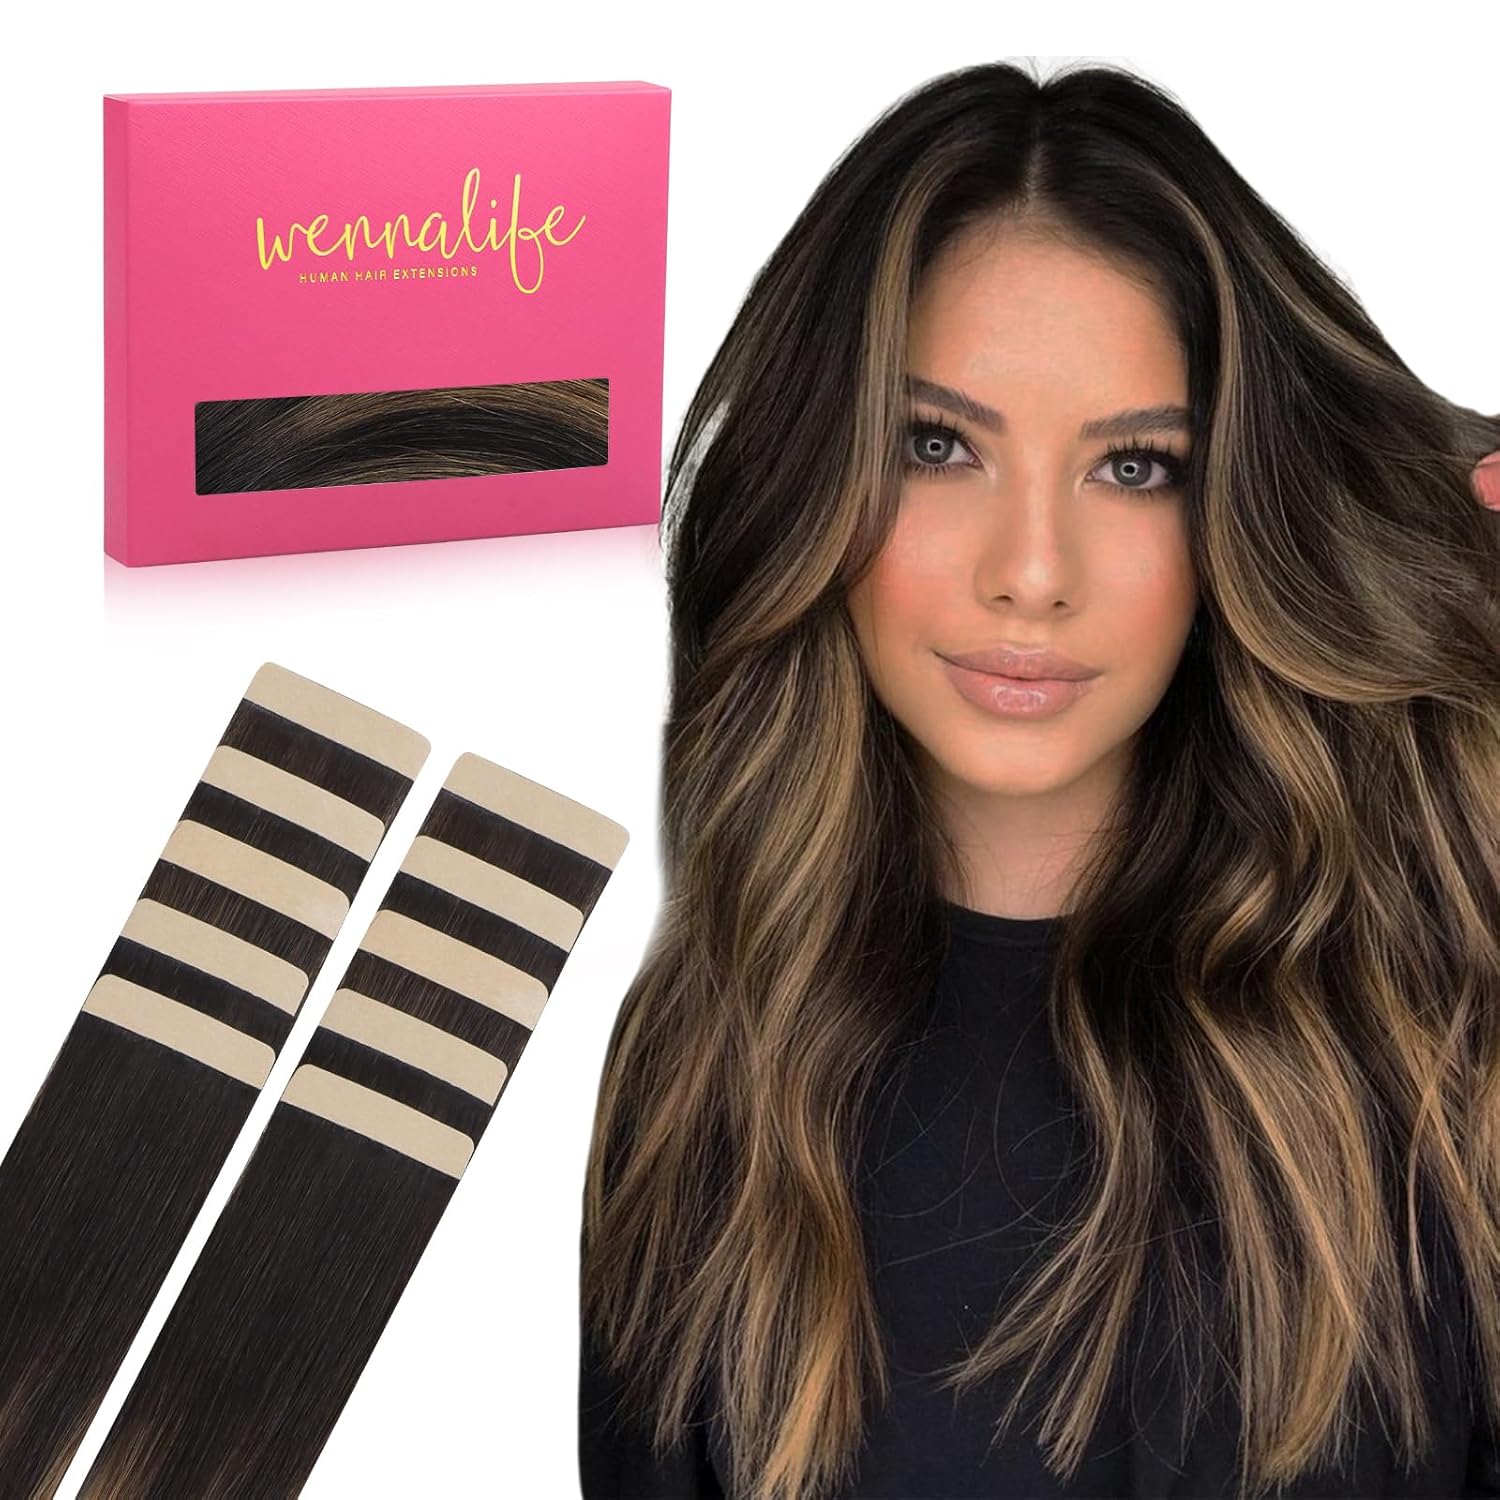
Choose High-Quality Human Hair Extensions
Opt for tape-in extensions made from 100% Remy human hair, which ensures natural texture, shine, and longevity. Remy hair extensions maintain the natural direction of the hair strands, preventing tangling and enhancing the overall look.
Select from Reputable Brands
Invest in tape-in hair extensions from well-known brands that prioritize quality and ethical sourcing. Brands like Luxy Hair, Bellami Hair, and Honeydew Hair are renowned for their premium extensions, offering a wide range of colors and lengths to suit different preferences.
Consider the Thickness and Length
Choose extensions that match your hair’s thickness and desired length. Overly thick extensions can weigh down your natural hair, while extensions that are too thin may not provide the desired volume. Selecting the right thickness ensures a balanced and natural appearance.
Look for Adjustable Features
Some tape-in extensions come with adjustable features, allowing you to customize the fit based on your hair type and application needs. Adjustable extensions provide flexibility and ease in achieving the perfect look, making maintenance simpler and more efficient.
Check for Certifications
Ensure that the extensions you purchase are certified and free from harmful chemicals. Certifications like OEKO-TEX Standard 100 guarantee that the extensions have been tested for harmful substances, ensuring they are safe for use on sensitive skin.
Conclusion: Mastering How to Put in Tape-in Hair Extensions for Stunning Results
In conclusion, understanding how to put in tape in hair extensions can transform your hairstyle, offering added length, volume, and versatility. By following this comprehensive step-by-step guide, you can achieve a professional and natural look that enhances your overall appearance. Remember to prepare your hair properly, choose high-quality extensions, and maintain them with care to ensure longevity and durability. Whether you’re a beginner or looking to refine your technique, mastering the art of applying tape-in hair extensions will empower you to create stunning, salon-worthy hairstyles from the comfort of your home. Embrace the process, avoid common mistakes, and enjoy the confidence that comes with beautiful, voluminous hair.