How to Remove Tape In Extensions Without Remover: Hair Care
Hair extensions have become a popular way to achieve longer, fuller locks without waiting for natural growth. Among the various types of extensions, tape-in extensions are favored for their natural look and ease of application. However, removing tape in extensions without remover can be challenging, especially for those seeking a safe and efficient method. This comprehensive guide explores several techniques to remove tape in extensions without remover, ensuring your hair remains healthy and undamaged throughout the process.
Contents
hide
 Understanding Tape-In Extensions
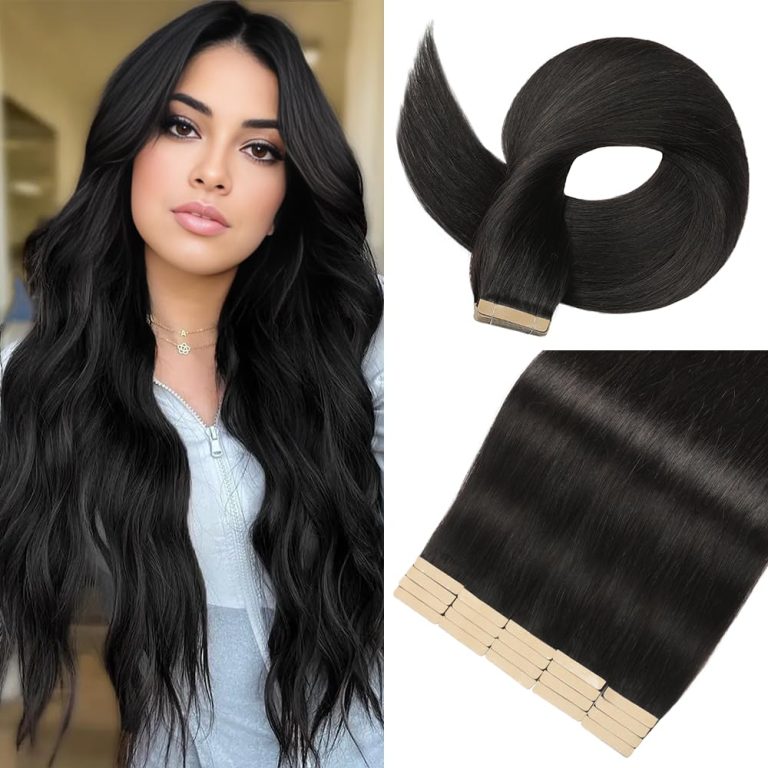
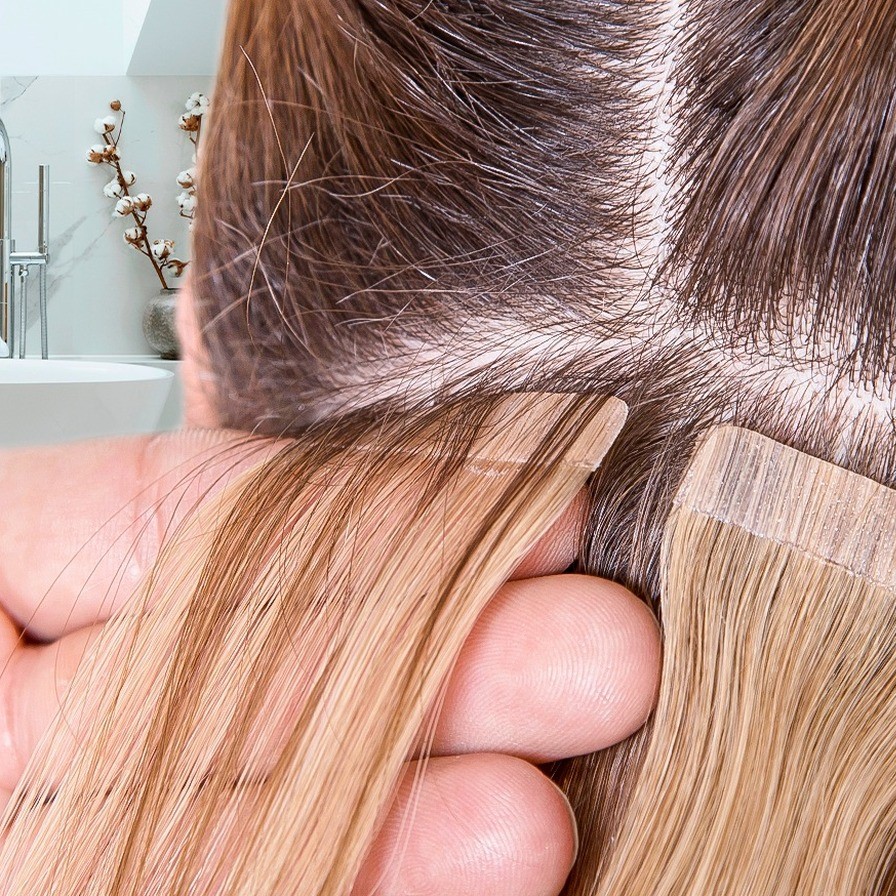
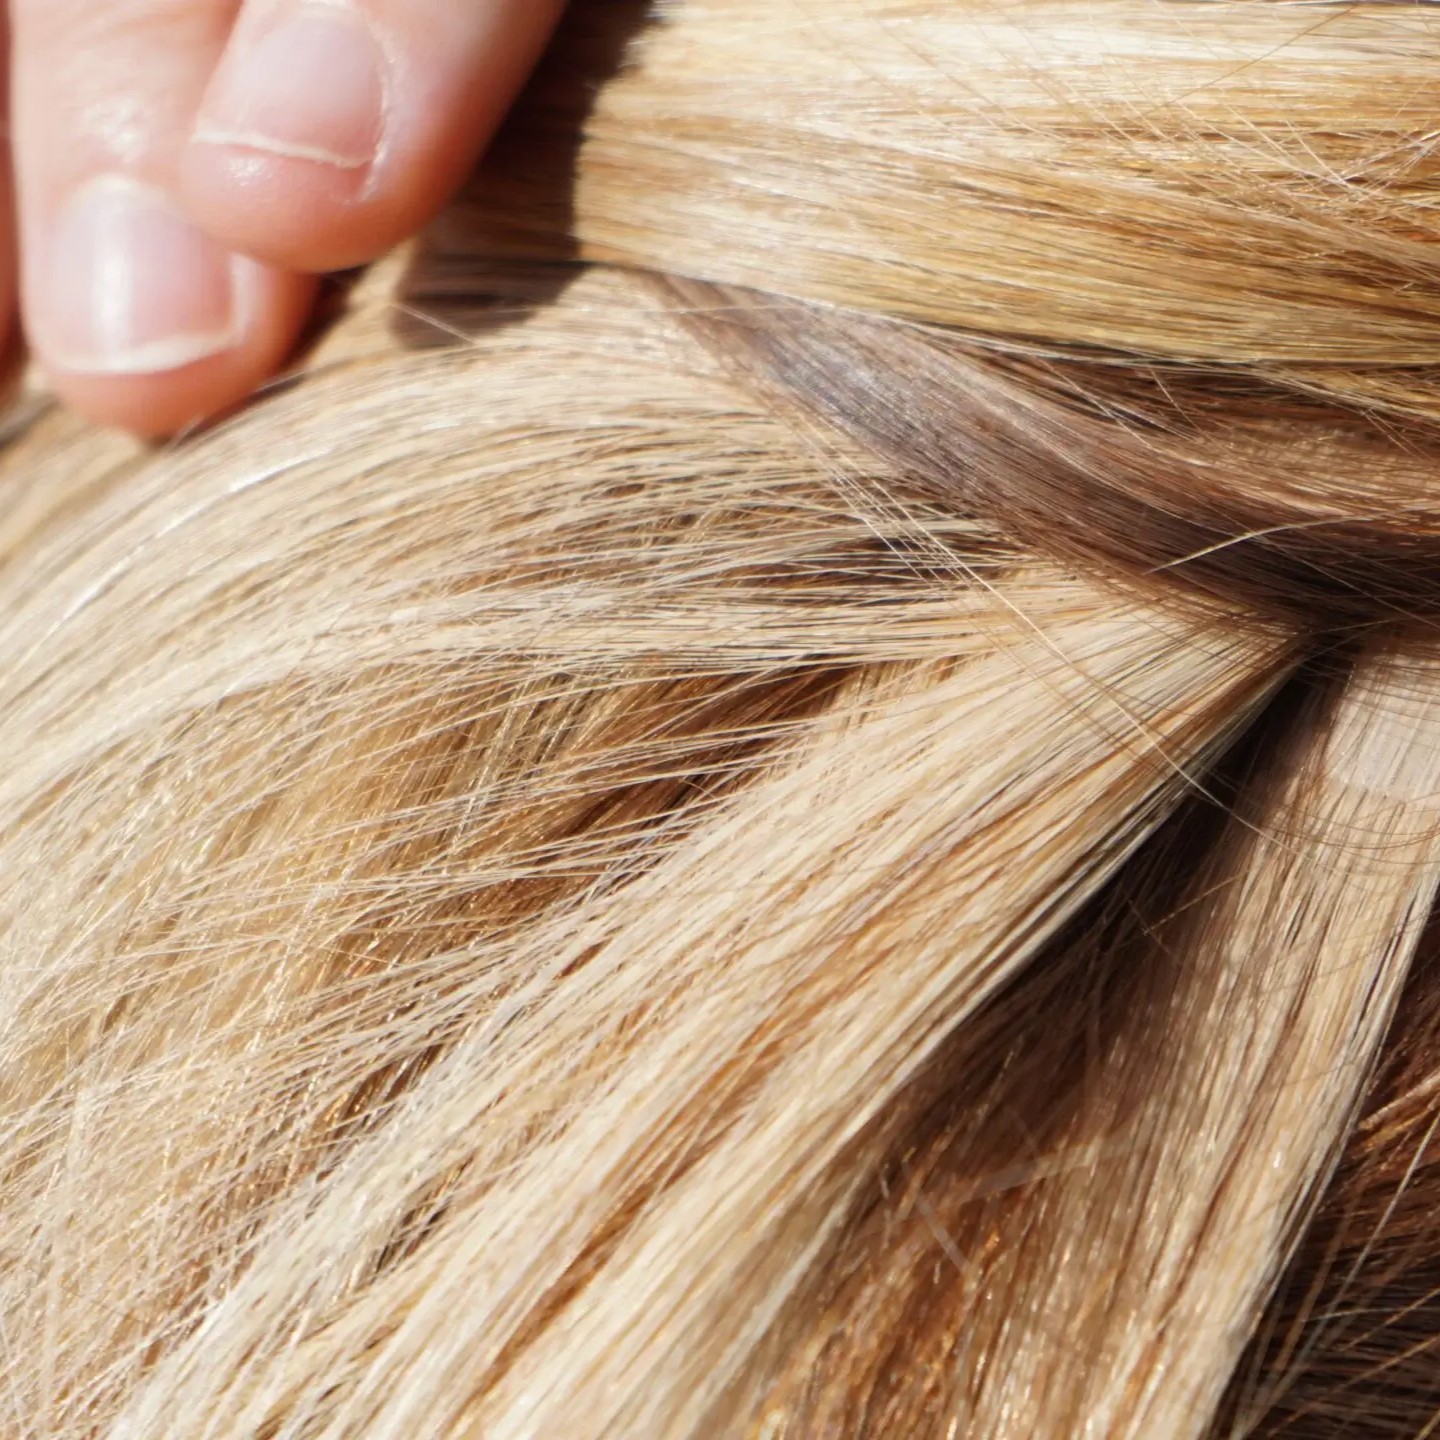
Tape-in extensions are popular for adding length and volume to hair. They are lightweight and provide a seamless look when installed correctly. These extensions are made with small strips of adhesive tape, making them easy to apply and blend naturally with your hair. Unlike other extensions, tape-ins lay flat and are less likely to tangle.
What Are Tape-In Extensions?
Tape-in extensions are thin hair wefts with adhesive on one side. They are made from either human or synthetic hair. The tape securely bonds to your natural hair for long-lasting results. These extensions come in various colors, lengths, and textures to suit different styles. They can last for 6-8 weeks with proper care.
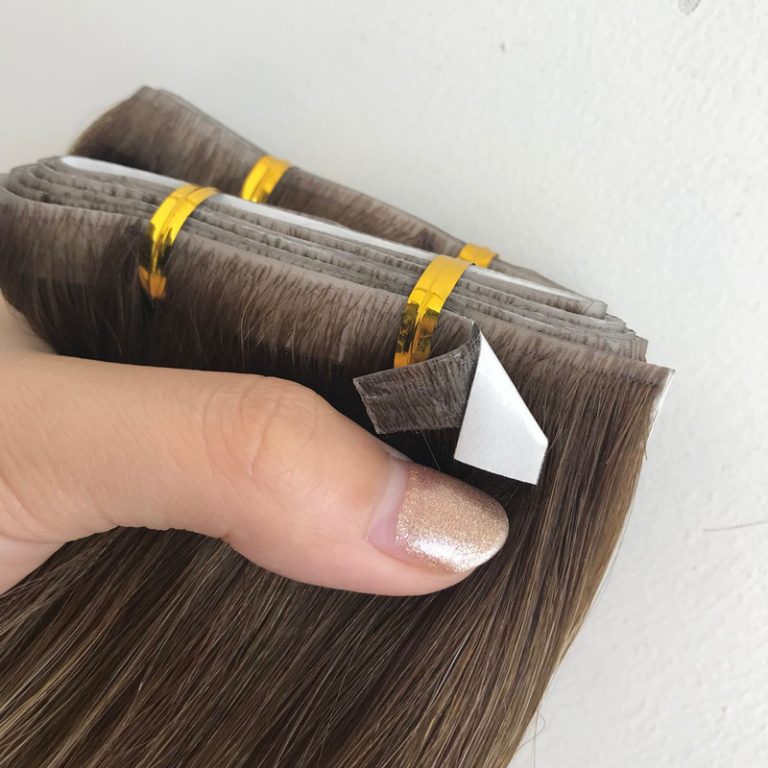
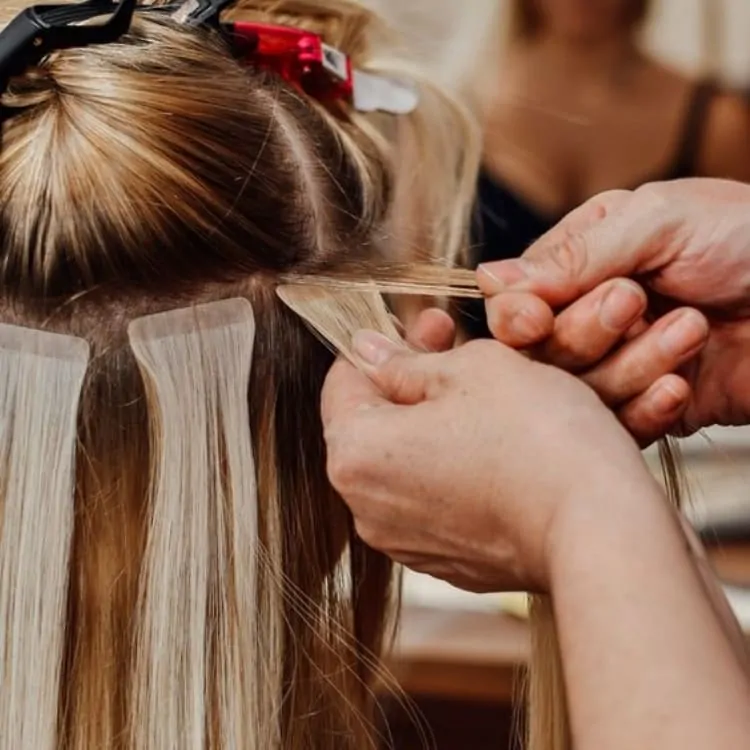
How They Are Installed and Removed
Tape-in extensions are installed by sandwiching small sections of your natural hair between two adhesive strips. A hairstylist usually applies them, ensuring each piece aligns smoothly. Removal involves breaking the adhesive bond gently. Many people use a specialized remover, but household items like oils can work well too. Proper removal prevents damage and keeps your natural hair healthy.
Why Removing Tape-In Extensions Properly Matters
Properly removing tape-in extensions is crucial for maintaining healthy hair. A careful process ensures no damage occurs and keeps your scalp in good condition. Mishandling this step can lead to issues like breakage, tangling, or discomfort. Let’s explore the risks and benefits of following the correct removal techniques.
Risks of Improper Removal
- Hair Breakage: Pulling extensions without loosening the adhesive can break your natural hair strands.
- Scalp Irritation: Using harsh chemicals or excessive force can irritate or injure your scalp.
- Tangled Hair: Extensions removed improperly can leave hair knotty, resulting in significant detangling efforts.
- Hair Loss: Improper techniques might lead to excessive shedding or patchy bald spots.
Understanding these risks can encourage you to prioritize safe removal practices. This prevents lasting damage to hair and scalp.
Benefits of a Safe Removal Process
- Healthy Hair Retention: Gentle removal retains the strength and health of your natural hair.
- Smooth Transition: Safe practices help prepare your hair for future styles, like reinstallation.
- Comfort and Care: Taking time ensures minimal pain and a soothing experience for your scalp.
- No Residue: Proper removal leaves your hair clean and free of adhesive residue.
Adopting safe techniques saves you from potential damage and promotes overall hair and scalp health. It also avoids additional expenses for professional repair treatments. Keeping hair damage-free means you can confidently experiment with extensions again in the future.
 Tools Needed for Removing Tape-In Extensions
Removing tape-in extensions safely requires the right tools and techniques. Using proper tools ensures an easier process and protects your natural hair from damage.
Essential Tools for Safe Removal
- Professional Tape Remover: This is specifically designed to break down adhesive, making removal seamless.
- Wide-Tooth Comb: Use this to detangle your hair during and after removing the extensions.
- Sectioning Clips: These help keep your hair organized and manageable while removing extensions.
- Soft Towel: Ideal for cleaning adhesive residue from your hair after tape removal.
- Gentle Shampoo: Use to wash away remaining adhesive and prepare your hair for aftercare.
Alternatives if a Remover Is Not Available
If a professional remover is unavailable, household items can be helpful alternatives:
- Natural Oils: Coconut or olive oil works to dissolve the adhesive gently.
- Conditioner: Apply a generous amount to loosen the tape without damaging your hair.
- Alcohol-Based Products: Rubbing alcohol can break the adhesive bond, but use sparingly to avoid dryness.
- Warm Water and Soap: A mixture can loosen the adhesive, though it may take longer.
These alternatives provide a budget-friendly option for safely removing your extensions. However, always handle your hair with care to minimize damage.
Step-by-Step Guide to Removing Tape-In Extensions Without a Remover
Removing tape-in extensions without a professional remover is entirely possible using safe and effective methods. The correct approach minimizes damage and ensures your hair remains healthy throughout the process.
Preparing Your Hair for the Removal Process
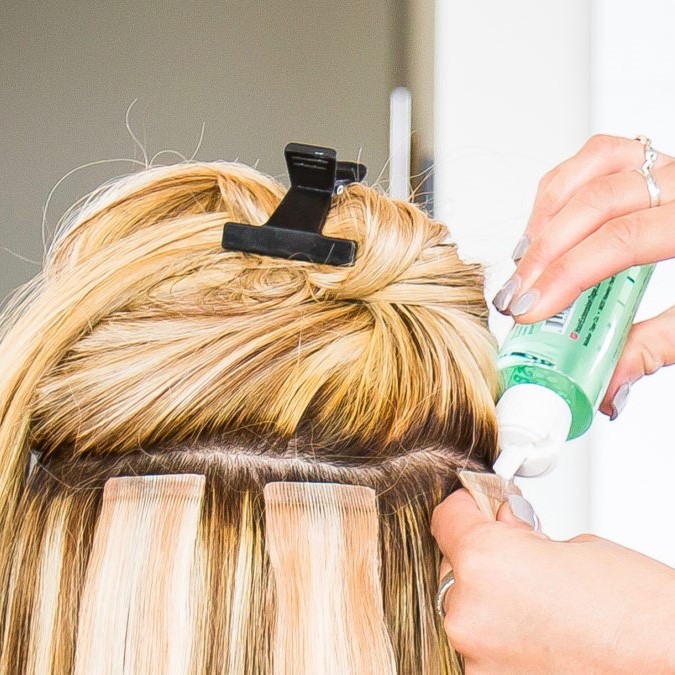
Start by sectioning your hair for better control during removal. Use clips to separate the extensions from the rest of your hair. This organization prevents tangling and makes handling easier. Brush your hair gently with a wide-tooth comb to remove surface knots. Clean and dry hair is essential for smooth removal. Avoid working on wet or oily hair at this stage.
Using Natural Oils or Household Products
Natural oils like coconut or olive oil are excellent for loosening adhesive bonds. Apply the oil directly to the tape area. Massage it thoroughly to saturate the adhesive. Let the oil sit for 10–15 minutes to work into the tape. Conditioner is another option for breaking down adhesive gently. Generously apply it to the extensions and wait before proceeding.
Other household items, like rubbing alcohol, can dissolve tape adhesive. Dab a small amount of alcohol onto the tape. Be cautious as overuse can dry your hair. Warm water mixed with mild soap serves as the last resort. Apply the mixture to the base of the tape and gently rub.
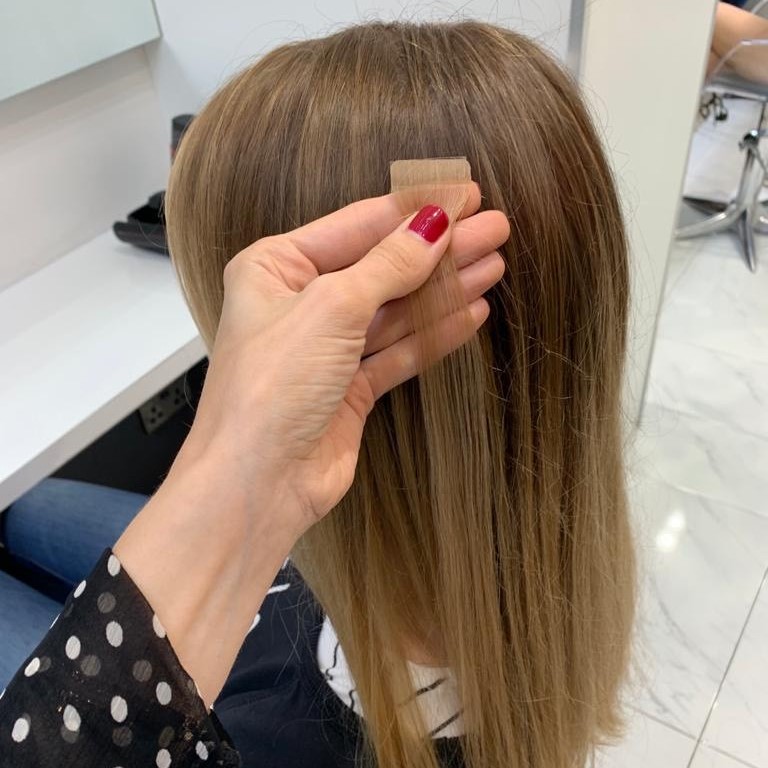
Gently Peeling Off the Tape
Once the adhesive is loosened, slowly lift the extension away from your hair. Start at one corner and peel the tape gently. Work in small sections to avoid pulling or breakage. If resistance is felt, reapply oil or conditioner, and wait a few more minutes before trying again. Never rush or force the tape off your hair. Patience will prevent damage and keep your strands intact.
Following this step-by-step guide ensures safe and smooth removal for healthy hair and scalp after tape-in extensions removal.
 Tips for Minimizing Damage During Removal
Proper techniques can prevent damage when removing tape-in extensions. Follow these tips to protect your hair.
How to Keep Hair Healthy
- Be Gentle During Removal: Take your time and avoid tugging on the extensions.
- Use Enough Product: Apply ample oil or conditioner to loosen adhesive fully.
- Work in Small Sections: Focus on one area at a time for better control and less stress.
- Comb Thoroughly: Use a wide-tooth comb to remove tangles after the extensions are off.
- Avoid Wet Hair: Ensure your hair is dry before beginning the removal process.
Signs of Damage to Watch For
- Broken Strands: Check for pieces of hair falling out during or after removal.
- Excess Shedding: Watch for an unusual amount of hair loss in one session.
- Irritated Scalp: Notice any redness, soreness, or itching after the process.
- Residue Buildup: Check for leftover adhesive that can damage hair if not cleaned.
Maintaining patience and proper techniques keeps your hair and scalp healthy after removing extensions.
Common Mistakes to Avoid When Removing Tape-In Extensions
Removing tape-in extensions requires care and attention to prevent damage to your hair and scalp. Avoiding common mistakes will help ensure a safe and effective removal process.
Using Harsh Chemicals
- Risk of Hair Damage: Harsh chemicals can weaken your hair structure and cause breakage.
- Scalp Irritation: Strong chemicals may irritate or burn your scalp, leading to long-term sensitivity.
- Difficulty Removing Residue: Chemicals can leave sticky residues, complicating the cleaning process after removal.
Instead of using harsh chemicals, opt for natural oils like coconut or olive oil. These oils effectively break down adhesive without harming your hair.
Pulling Too Hard on the Extensions
- Breakage and Hair Loss: Excessive force can lead to broken strands or even hair loss.
- Scalp Discomfort: Tugging on extensions may cause soreness and scalp tension.
- Increased Tangling: Rough handling can create knots and make removal more challenging.
To avoid pulling, gently loosen the adhesive with oil, conditioner, or professional remover. Peel the tape slowly, working in small sections.
Being cautious and following proper techniques will minimize damage and keep your hair healthy during the removal process.
 Post-Removal Hair Care Routine
Proper care after removing tape-in extensions ensures your hair stays healthy and ready for reuse. Following a post-removal routine will help restore strength, cleanliness, and vitality to your natural hair.
Cleaning and Conditioning Your Hair
- Cleanse Thoroughly: Use a gentle shampoo to wash your hair. Focus on areas with adhesive residue.
- Rinse Completely: Rinse shampoo thoroughly to ensure no product or adhesive remains.
- Deep Condition: Apply a nourishing conditioner. Let it sit for 5–10 minutes before rinsing.
- Detangle Carefully: Use a wide-tooth comb to remove knots. Work slowly to avoid breakage.
- Dry Slowly: Towel-dry your hair gently and avoid rough scrubbing.
Cleaning and conditioning restore moisture and remove buildup caused by tape-in extensions.
Strengthening Your Hair Before a New Installation
- Use Protein Treatments: Apply a protein mask to strengthen weak or damaged strands.
- Massage Your Scalp: Regular scalp massages improve circulation and support hair growth.
- Trim Damaged Ends: If needed, trim split or damaged ends to prevent further breakage.
- Apply Leave-in Conditioner: Use nourishing leave-in products to hydrate hair daily.
- Avoid Excessive Heat: Limit heat-styling tools while your hair recovers from the extensions.
Strengthening your hair ensures it is ready for new tape-in extensions or styling options. These steps promote better hair health and prepare your hair for future installations.
When to Seek Professional Help
Removing tape-in extensions is often manageable at home. However, certain situations may require professional assistance. Seeking help from a hairstylist ensures your hair and scalp stay safe during the process.
Situations That Require a Hair Stylist
- Severe Tangles or Knots: If your extensions are extremely tangled, a stylist can detangle carefully.
- Strong Adhesive Residue: Some adhesives may be stubborn and difficult to remove without the right tools.
- Hair or Scalp Sensitivity: If your scalp feels irritated or sore, professional removal minimizes discomfort.
- First-Time Removal: If removing extensions for the first time, a stylist ensures safe and correct techniques.
- Damaged Hair: Pre-existing hair damage requires a stylist to prevent further breakage.
Professional help reduces the stress on your hair and avoids unnecessary damage.
Evaluating the Condition of Your Hair After Removal
- Check for Breakage: Look for broken or thinning strands to assess your hair’s health.
- Inspect for Adhesive Residue: Ensure no sticky residue is left, as it may weaken hair over time.
- Focus on Scalp Health: Check for redness, itching, or soreness on your scalp after removal.
- Observe Hair Texture: Ensure your hair feels smooth and doesn’t appear frizzy or rough.
- Seek Advice if Needed: If you notice significant damage, consult a stylist for a tailored care plan.
Monitoring your hair and scalp after removal helps you decide if professional care is necessary. Taking timely action ensures healthy hair and prepares you for future extension installations.
Frequently Asked Questions
Can I Remove Tape-In Extensions Without Any Products?
While it is possible to remove tape in extensions without remover, using natural oils or gentle heat can significantly ease the process and reduce the risk of hair damage.
How Long Does It Take to Remove Tape-In Extensions Without Remover?
The removal process typically takes between 30 minutes to an hour, depending on the number of extensions and the method used. Patience is key to ensuring a safe and effective removal.
Will Removing Tape-In Extensions Without Remover Damage My Hair?
When done carefully and correctly, removing tape-in extensions without remover should not damage your hair. However, improper techniques or excessive force can lead to breakage and scalp irritation.
Can I Reuse My Tape-In Extensions After Removing Them Without Remover?
Yes, if the tape remains intact and undamaged during removal, you can reuse your tape-in extensions. Ensure you store them properly and clean them thoroughly before reapplication.
What Should I Do If I Experience Pain During Removal?
If you experience pain or significant resistance while removing tape-in extensions, stop immediately. Forceful removal can cause hair damage and scalp injury. Consider seeking professional assistance if necessary.
Conclusion
Learning to remove tape in extensions without remover empowers you to maintain your natural hair’s health and uphold your beauty routine seamlessly. By utilizing oil-based solutions, gentle heat applications, and patient techniques, you can effectively detach your extensions without the need for specialized products. Remember to prioritize gentle handling, proper aftercare, and avoid common pitfalls to ensure a safe and successful removal process. Embrace these methods to enjoy the benefits of hair extensions while keeping your natural hair strong and beautiful.