Tape in Extensions for Black Hair: Enhance Style with Confidence
Contents
hide
What Are Tape-In Extensions?
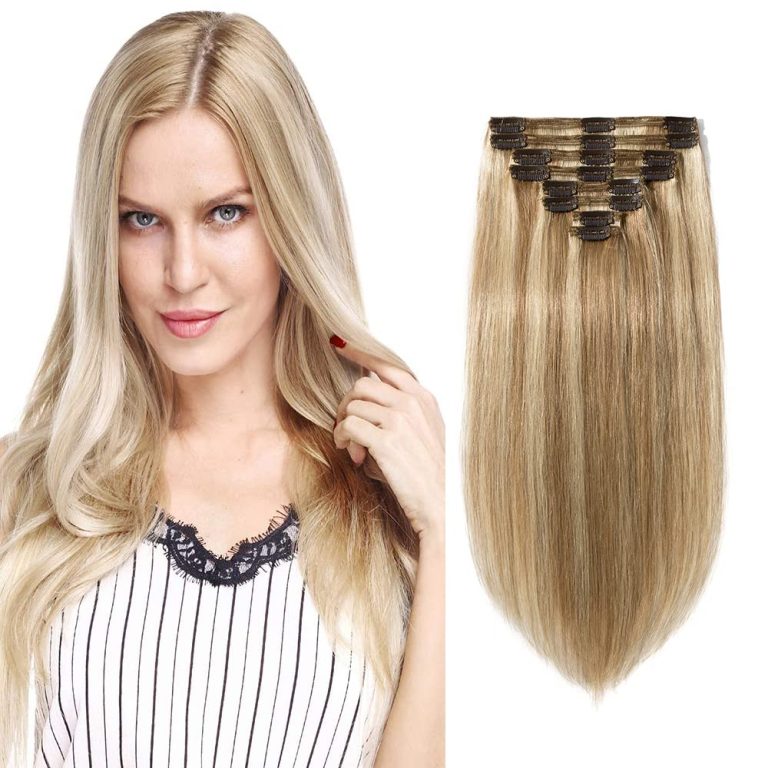
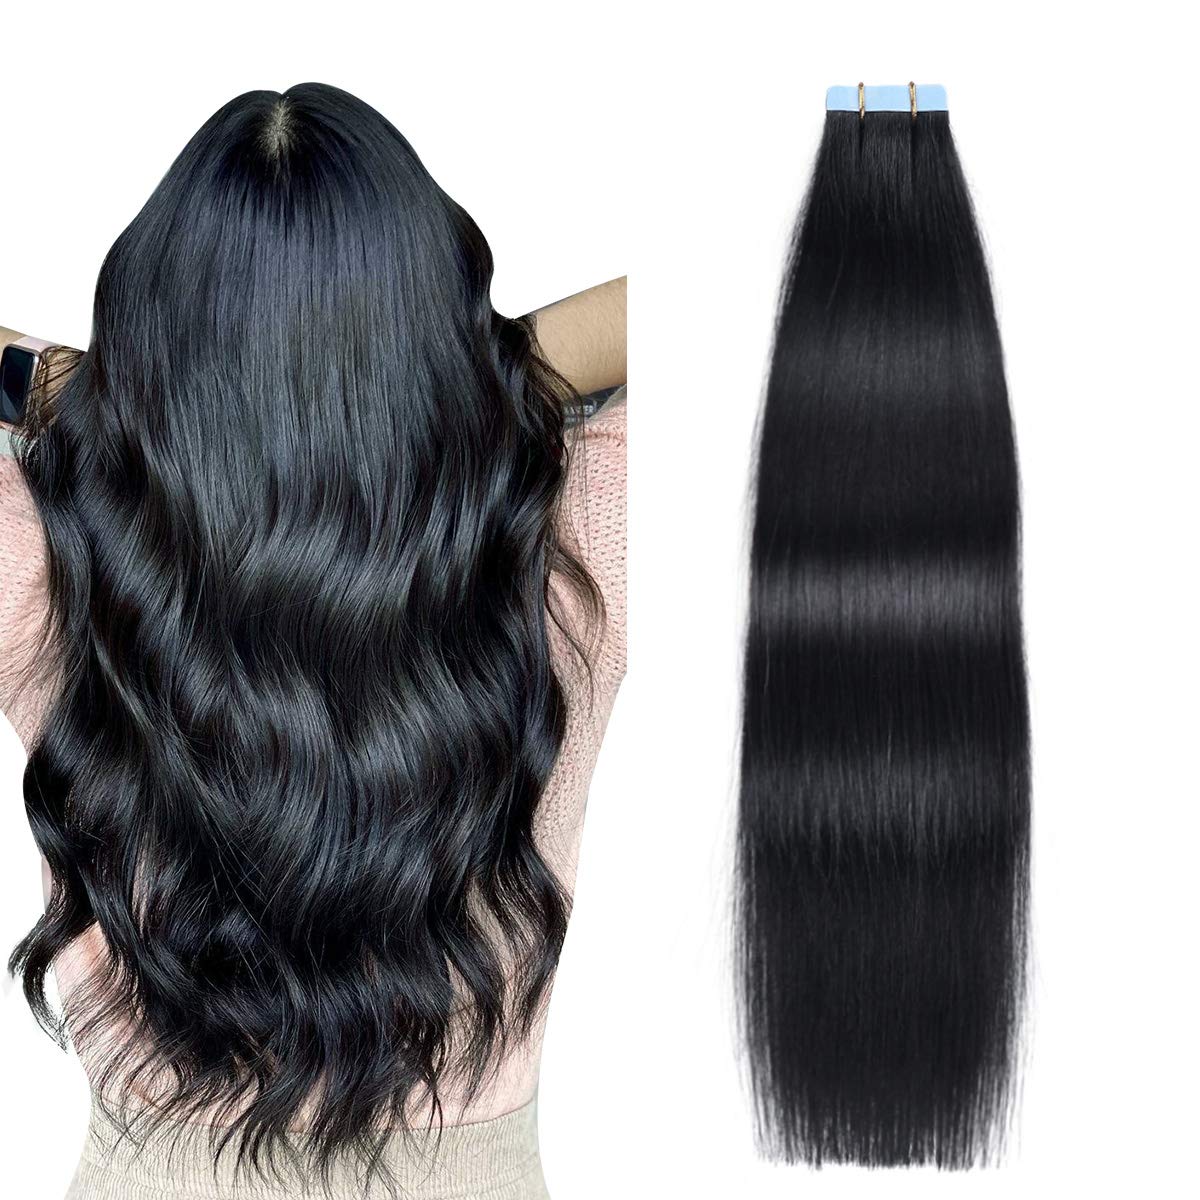
Tape in extensions for black hair are one of the most popular options for enhancing hair appearance. They consist of thin wefts of hair attached to double-sided adhesive tape. These tapes are applied close to the roots of natural hair, allowing for a seamless blend. Tape-ins are lightweight, making them comfortable to wear for extended periods.
Key Features of Tape-In Extensions
- Lightweight Design: Tape-in extensions are lightweight and do not pull on natural hair, ensuring comfort.
- Natural Appearance: The adhesive strips are thin and lay flat against the scalp for a natural look.
- Reusable: Many tape-in extensions are reusable after being cleaned and re-taped.
- Quick Application: Installation time is relatively fast compared to other methods, often 1-2 hours.
- Versatile Styling: Tape-in extensions work well with heat tools and various hairstyles.
How Tape-In Extensions Differ from Other Hair Extensions
Tape-in extensions differ from sewn-in or clip-in extensions in terms of method, appearance, and maintenance:
- Application Method: Unlike clip-ins that can be quickly added or removed, tape-ins use adhesive strips for longer wear. For sew-ins, hair is braided before extensions are added.
- Comfort: Tape-ins are lightweight and do not cause scalp tension like sewn-in methods might.
- Seamless Blend: Tape-in extensions lie flat against the scalp, creating a more natural appearance overall.
- Durability: Properly installed tape-in extensions last up to 6 weeks, whereas clip-ins are removed daily.
Tape-in extensions are highly recommended for black hair due to their gentle application and versatility.
 Benefits of Tape-In Extensions for Black Hair
Tape-in extensions offer numerous benefits for black hair. They are known for their ability to enhance natural beauty and provide versatile styling options. Below, we’ll explore their specific advantages.
Enhanced Volume and Length
- Achieve Fuller Hair: Tape-in extensions add volume to thin or fine hair, giving it a fuller look.
- Boost Hair Length: They are perfect for achieving long, flowing hair instantly.
- Customizable Thickness: You can use multiple wefts to create the ideal level of fullness.
- Natural Blend: With proper installation, they blend seamlessly with black hair textures for an undetectable finish.
For individuals with shorter hair or thinning edges, tape-in extensions provide the perfect solution to transform your style with ease.
Versatility in Styling and Maintenance
- Diverse Hairstyles: Tape-in extensions can be styled into braids, curls, or sleek ponytails.
- Heat-Friendly: They work well with heat tools, enabling endless styling options.
- Low Maintenance: Tape-ins require minimal daily upkeep with the right care routine.
- Longevity of Wear: When installed correctly, they last for several weeks without frequent adjustments.
The versatility of tape-in extensions makes them an ideal choice for dynamic looks, whether for professional settings or special occasions. These extensions also maintain their quality when paired with the right products, ensuring stylish results for weeks.
 Choosing the Right Tape-In Extensions for Black Hair
Selecting the right tape in extensions for black hair is crucial for achieving a natural look and secure fit. The proper extensions should match your hair texture, color, and styling needs. Below, we’ll cover the types available and the factors to consider for the perfect choice.
Types of Tape-In Extensions Available
- Synthetic Hair Extensions: These are made of artificial fibers designed to mimic natural hair. They are affordable but may not blend seamlessly with textured hair or withstand heat tools.
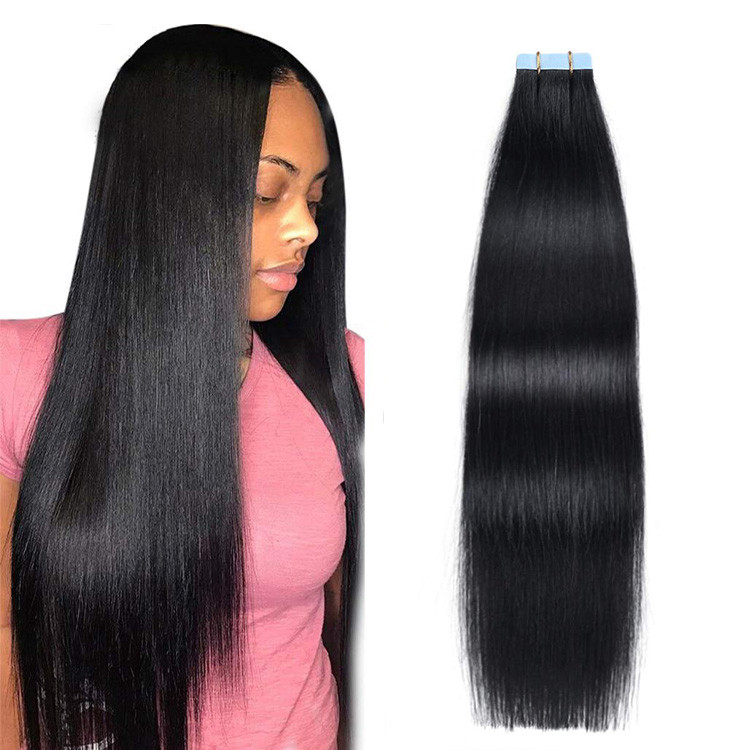
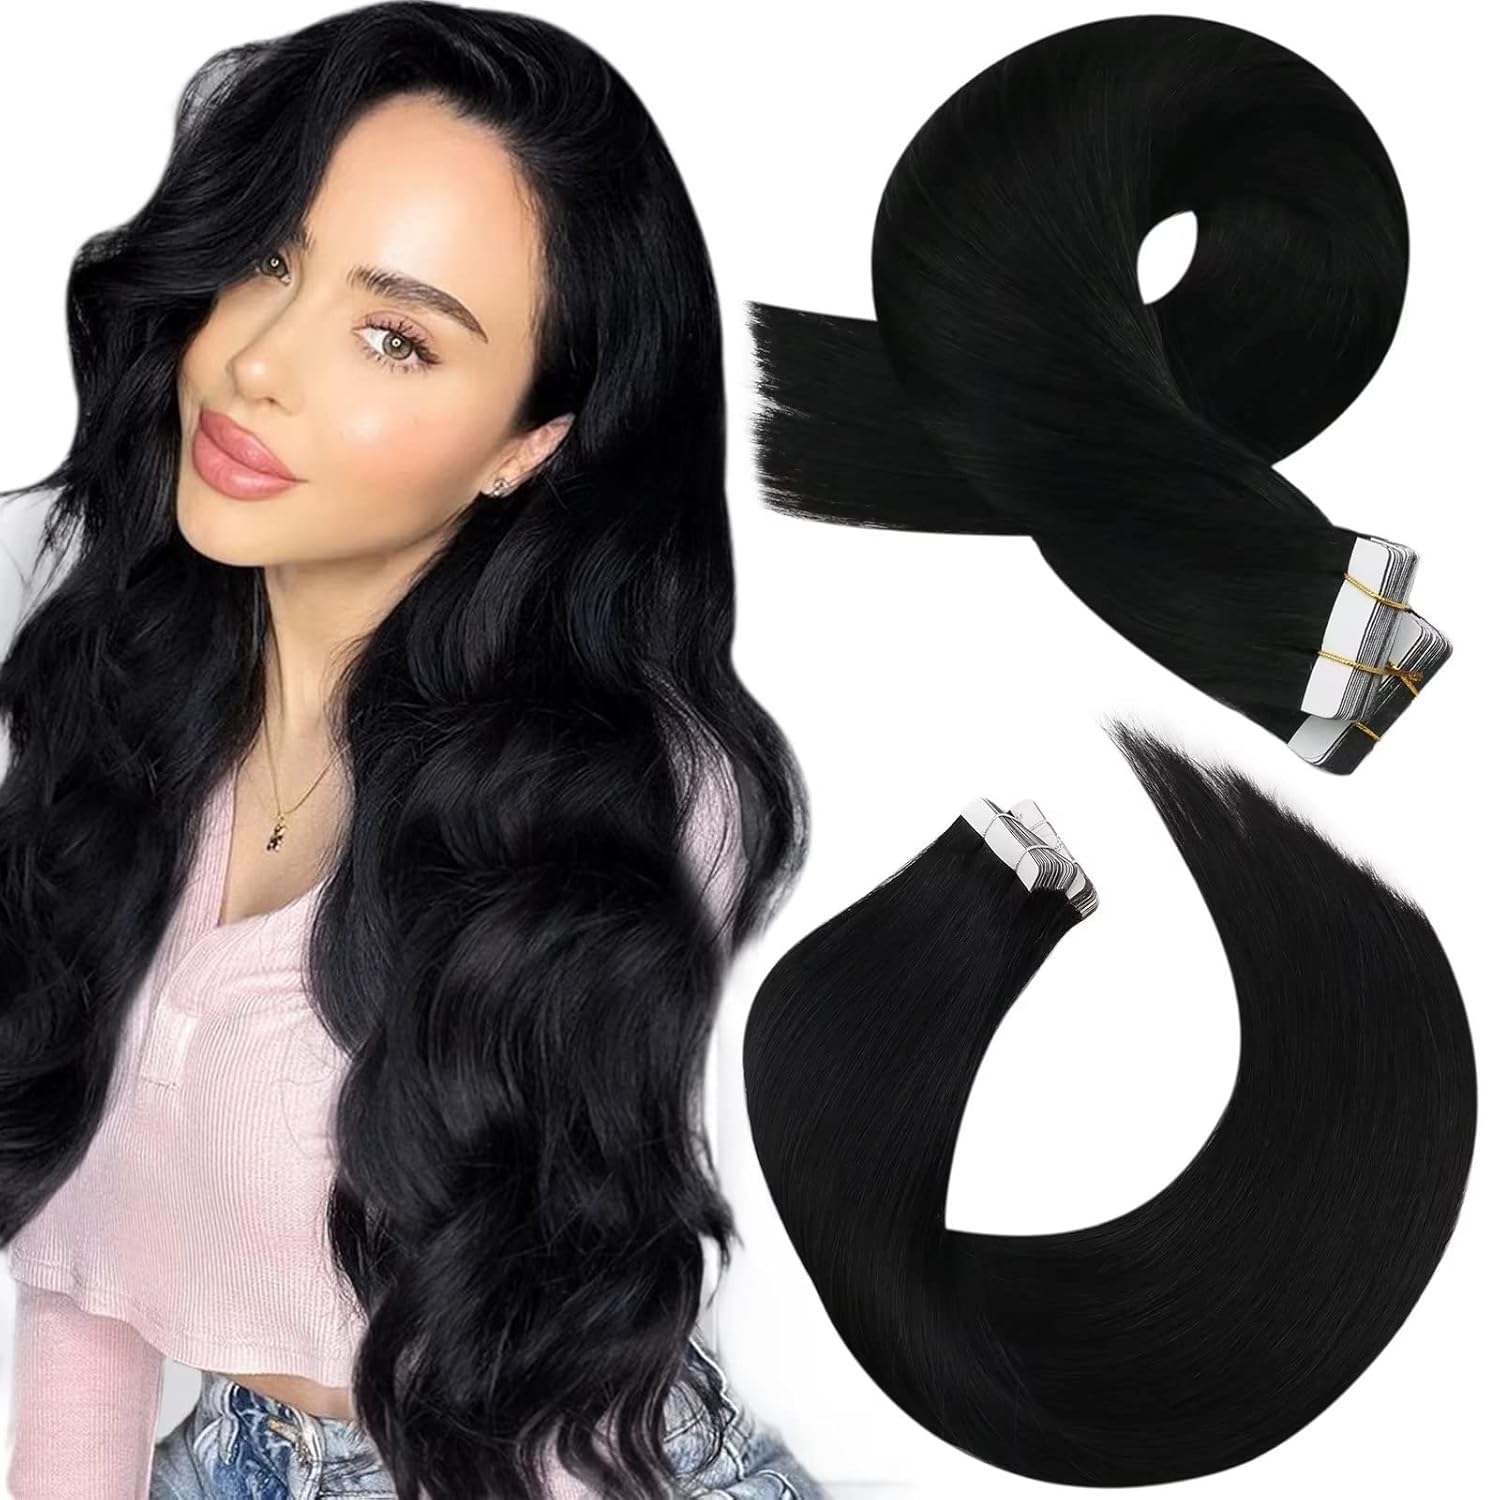
- Human Hair Extensions: These are created from 100% real hair and offer a natural finish. They last longer, blend better with black hair, and can be styled with heat tools.
- Virgin Hair Extensions: Virgin extensions come from unprocessed human hair. They maintain their natural integrity, making them ideal for blending with thick or textured black hair.
- Remy Hair Extensions: These are high-quality human hair extensions with strands aligned in the same direction. This minimizes tangling and ensures a smooth, sleek finish.
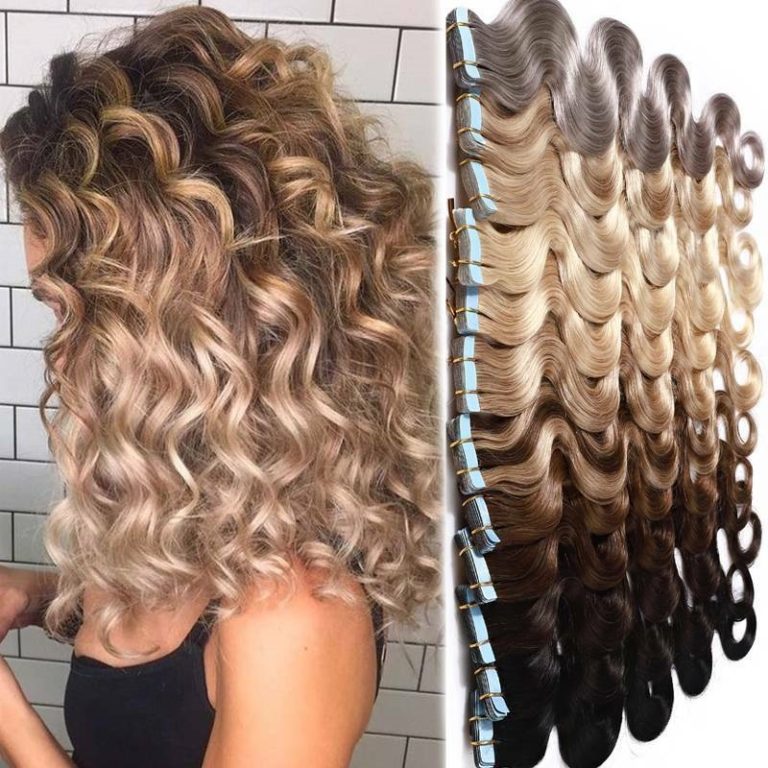
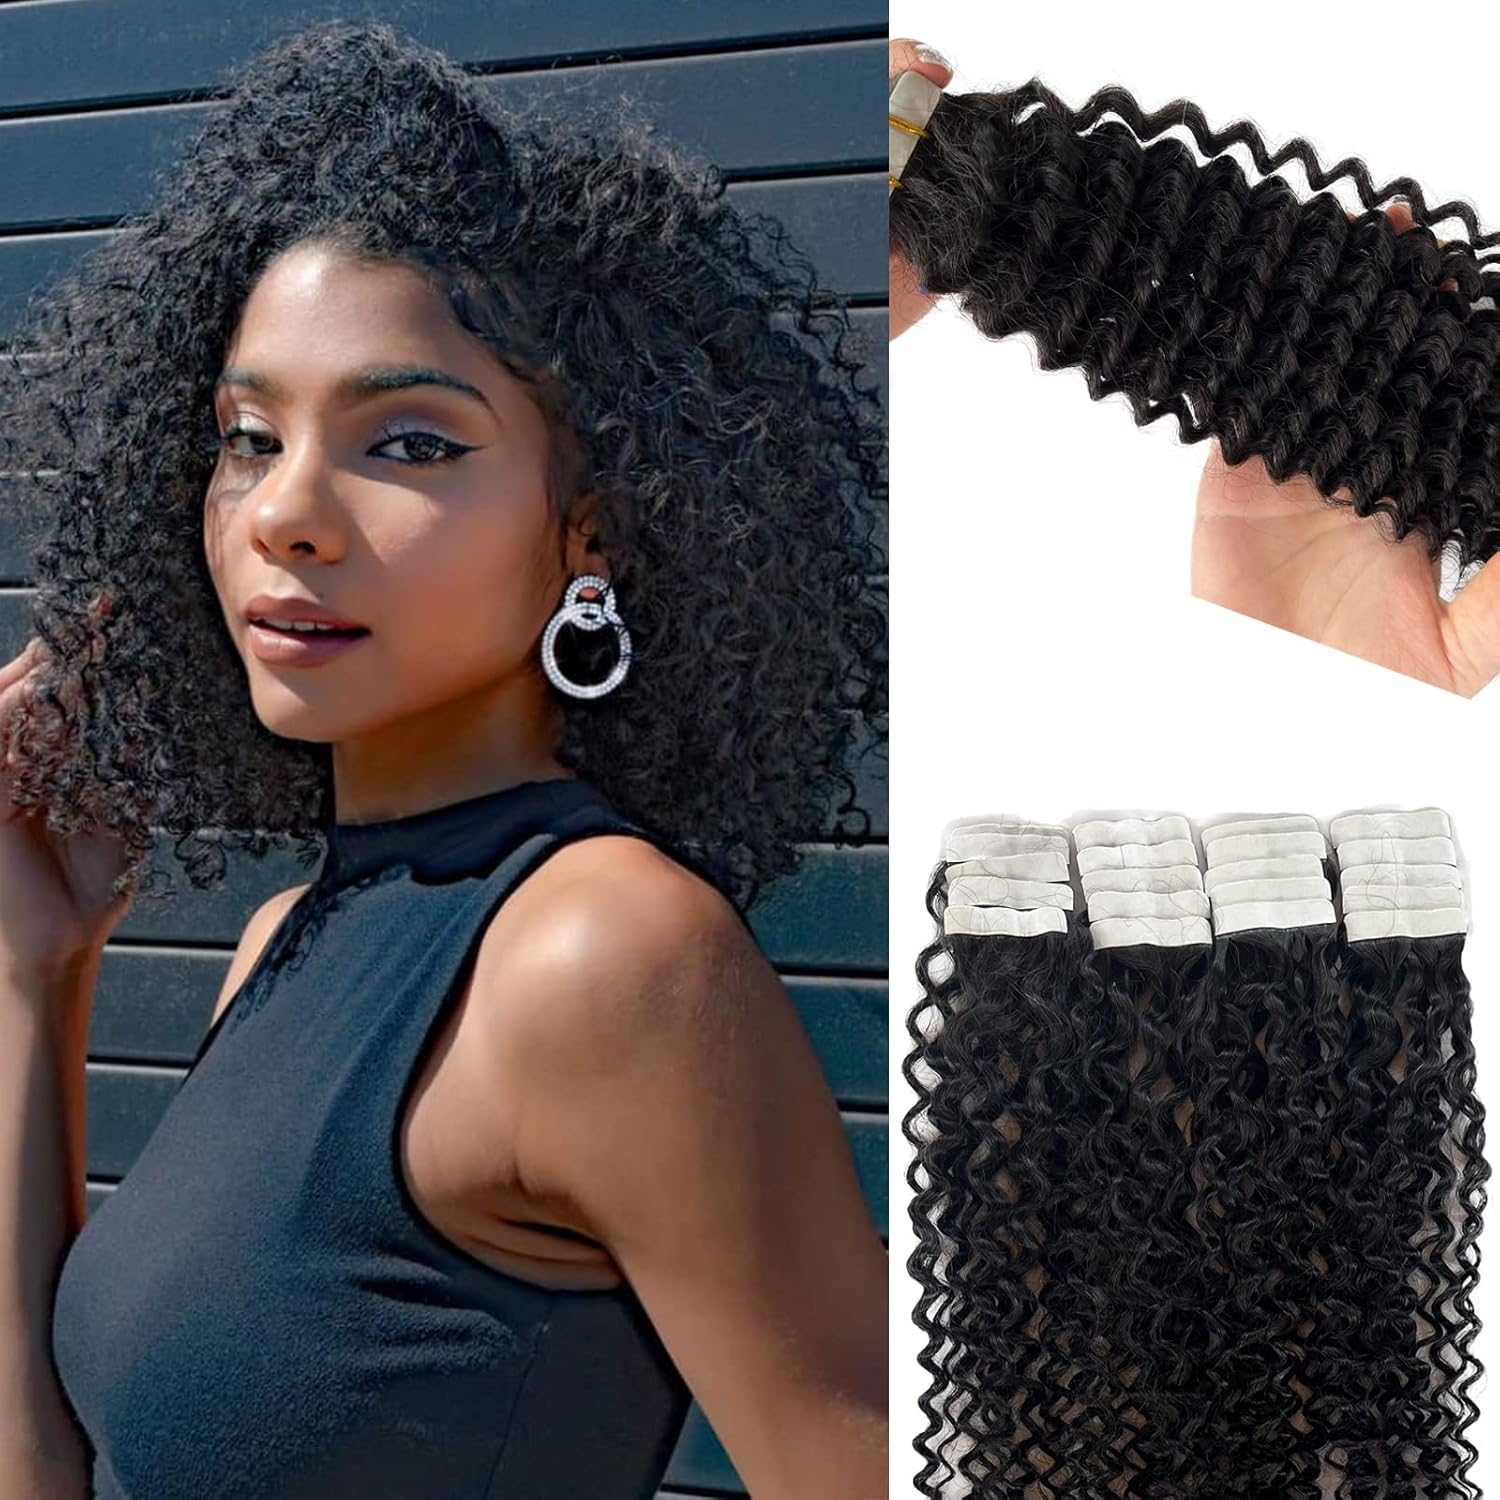
- Curly and Textured Tape-Ins: These extensions mimic natural curl patterns, including 4A, 4B, and 4C textures, ensuring a seamless blend with black hair.
Choosing between these types depends on your budget, styling preferences, and desired longevity.
Factors to Consider for Texture and Match
- Hair Texture: Black hair comes in various textures, from wavy to coily. Pick extensions that match your natural hair texture for the most seamless look.
- Color Match: Always choose tape-in extensions that match your hair color or can be dyed to match.
- Density Needs: Consider how many wefts you’ll need for volume and thickness. For fuller looks, use multiple wefts.
- Hair Length and Blending: Ensure the extensions’ length works well with your natural hair for a gradual, natural blend.
- Lifestyle Compatibility: Select extensions that suit your daily routine. For instance, curly tape-ins may require more upkeep than straight ones.
- Styling Versatility: Human or Remy hair extensions work best for heat styling or intricate hairstyles.
Finding the right tape-in extensions ensures a flawless look while protecting the integrity of your natural hair. Making informed decisions about texture and type can make styling easier and enhance your confidence.
How to Install Tape-In Extensions on Black Hair
Installing tape-in extensions on black hair requires careful preparation and attention to detail. When done correctly, it ensures a long-lasting and flawless appearance. Here’s a complete guide to help you through the process.
Step-by-Step Installation Process
- Prepare the Hair:Wash and dry your hair to remove oils and product buildup. Clean hair ensures the tape adheres properly.
- Section the Hair:Divide your hair into small, even sections using a rat-tail comb. Secure each section with clips to keep it organized.
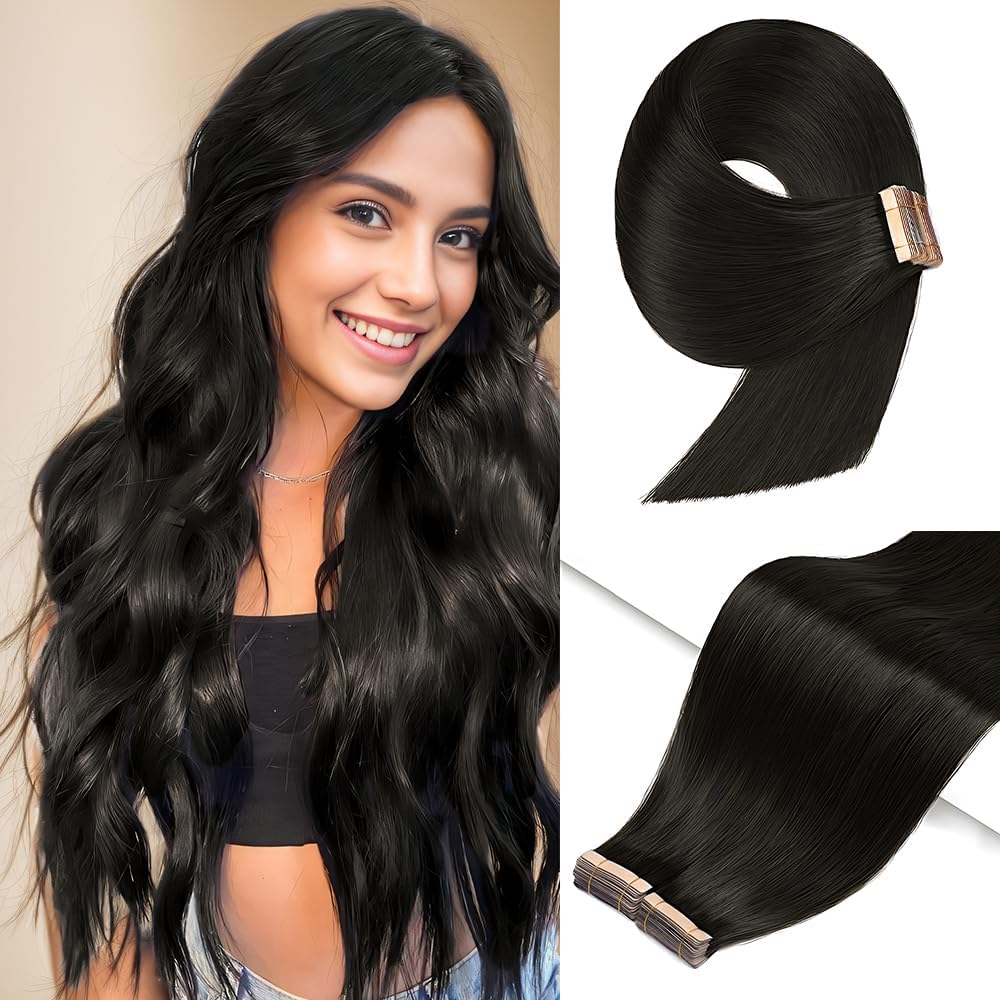
- Apply the Tape-In Extensions:Take a thin section of your natural hair and place one tape-in weft below it. Lay another tape-in weft on top, sandwiching your hair in between.
- Press Firmly:Use your fingers or a flat iron (on low heat) to press the adhesive together. This step ensures a secure bond.
- Repeat Across the Head:Continue working through each section until all extensions are applied. Avoid placing tape-ins too close to the scalp to prevent discomfort.
- Blend the Extensions:Once all extensions are installed, trim and shape them to blend with your natural hair. Use a pair of sharp scissors or seek a professional stylist for blending.
- Style as Desired:Style your hair with a flat iron, curling wand, or other tools to achieve the desired look. Ensure not to tug on the extensions during styling.
Professional vs DIY Application
- Professional Installation:
- Expert Results: Stylists have experience ensuring a neat and seamless finish.
- Time-Saving: Professionals usually complete the job faster.
- Customization: They can expertly adjust for thickness, texture, and layering.
However, professional installations can be costly, depending on the salon and stylist’s expertise.
- DIY Application:
- Cost-Effective: Installing at home saves money on salon visits.
- Flexible Schedule: You can work on your own time.
DIY applications require patience and some practice to avoid mistakes. Incorrect installation can lead to discomfort or slippage.
Whether you choose professional help or a DIY approach, focus on proper installation. A secure and well-done application ensures your tape in extensions for black hair look natural and last longer.
 Maintenance Tips for Tape-In Extensions
Proper maintenance is crucial for ensuring the longevity and appearance of tape in extensions for black hair. By following a consistent daily care routine and using suitable products, you can keep your extensions looking natural and healthy.
Daily Care Routine
- Brush Gently: Use a wide-tooth comb or soft-bristle brush. Start from the ends and work upwards.
- Avoid Sleeping with Wet Hair: Always dry your hair extensions before going to bed to prevent tangling.
- Tie Hair Before Sleep: Use silk or satin scrunchies to tie hair in a loose braid or ponytail.
- Wash Hair Carefully: Shampoo your hair gently, focusing on the scalp without tugging the extensions.
- Condition Wisely: Apply conditioner only to the mid-lengths and ends to avoid loosening the adhesive.
- Limit Heat Styling: Reduce excessive heat styling. Use tools on low settings to minimize damage.
- Check Adhesive Regularly: Inspect the tape areas daily to ensure they stay secure and intact.
What Products to Use and Avoid
- Recommended Products:
- Sulfate-Free Shampoo: Prevents dryness and extends the adhesive’s life.
- Lightweight Conditioner: Nourishes extensions without weighing them down.
- Heat Protectant Spray: Shields your extensions from heat damage during styling.
- Leave-In Treatments: Keep extensions silky and moisturized.
- Products to Avoid:
- Sulfates and Alcohol-Based Products: These can weaken the adhesive.
- Oil-Based Hair Care: Oils may cause tape bonds to loosen and extensions to slip.
- Heavy Styling Products: Avoid gels and waxes that leave residue near the adhesive.
Maintaining tape-in extensions for black hair is simple when you follow these guidelines. Proper care ensures long-lasting wear and a flawless look.
 Common Challenges and Solutions
While tape-in extensions provide a seamless look, wearers often face certain challenges. These issues, however, can be easily managed with proper care and techniques.
Preventing Slippage and Damage
- Ensure Proper Installation: Poor placement of extensions may cause slippage. Always position tapes close to the roots.
- Use Non-Oily Products: Avoid oils near the adhesive as they weaken the tape bond.
- Check Adhesive Regularly: Inspect tapes daily for signs of loosening or damage.
- Avoid Excessive Heat: Limit exposure to high heat tools, which can erode the adhesive bond.
- Reapply Tape During Maintenance: In case of slippage, professional re-taping can restore adhesion.
By sticking to these precautions, you can prevent your extensions from dislodging or getting damaged prematurely.
Managing Natural Hair Growth with Extensions
- Schedule Adjustments: Natural hair grows over time, pushing extensions downward. Visit a stylist for repositioning every 6-8 weeks.
- Avoid Tight Styling: Styles like tight ponytails may pull at the roots and disrupt the installation.
- Maintain Scalp Health: Healthy scalps promote even hair growth and reduce tangles around extensions.
- Trim Blended Ends: Regular trims help keep extensions aligned with growing hair for a polished look.
- Monitor Adhesive Lifespan: Over time, tapes lose grip and need replacement for continued wear.
Managing natural hair growth with tape-in extensions requires effort but ensures a seamless, long-lasting style.
Frequently Asked Questions about Tape-In Extensions for Black Hair
Longevity of Tape-In Extensions
The lifespan of tape-in extensions depends on their quality and care routine. Typically, these extensions can last up to 6-8 weeks with proper maintenance. Re-taping may be required during adjustments to prolong their wear. High-quality options like Remy and virgin hair extensions often have better durability. Proper care, like avoiding oil-based products and excessive heat, extends their longevity. Regularly visiting a stylist for repositioning ensures flawless wear as natural hair grows.
Can Tape-In Extensions Cause Damage to Natural Hair?
Tape-in extensions are gentle on natural hair when installed and maintained correctly. Improper application or excessive tension during installation can cause damage. Using non-oily products keeps adhesives secure and avoids slippage. Regular cleaning and gentle brushing prevent tangling and strain on the scalp. Adequate removal techniques safeguard natural hair health during the extension removal process. For best results, seek a professional stylist to minimize the risk of damage.
Removing Tape-In Extensions Safely
Tape in extensions for black hair must be removed carefully to protect natural hair and avoid damage. A correct removal process ensures your hair stays healthy and extension adhesives leave no residue.
Tools and Techniques for Removal
- Remover Solution: Use a tape-in extension remover. These solutions dissolve the adhesive safely.
- Tail Comb: A tail comb helps gently lift extensions away from your natural hair.
- Step-by-Step Process:
- Apply remover solution thoroughly to the adhesive area.
- Wait for 1–2 minutes to allow the adhesive to soften.
- Use a tail comb to detach the tape gently from your hair.
- Remove extensions one section at a time to avoid tangling.
- Avoid Pulling: Never pull hard on your extensions. This can damage your natural hair.
- Professional Assistance: Consult a stylist for safe removal if unsure or inexperienced.
How to Care for Hair Post-Removal
- Cleanse the Hair: Wash hair thoroughly to remove leftover adhesive and remover solution.
- Deep Conditioning: Apply a nourishing deep conditioner to restore moisture and strength.
- Trim Split Ends: Get rid of split ends for a healthy, refreshed look.
- Scalp Treatment: Use serums or oils for scalp health and stimulation. This promotes healthy hair growth.
- Detangle Carefully: Brush your hair gently to remove knots left by the extensions.
- Wait Before Reinstallation: Allow your hair some recovery time before installing new extensions, typically 2–3 weeks.
Proper removal and aftercare preserve your hair’s health while preparing it for future styling options.