Real Hair Tape In Extensions Guide for Beautiful Hair
Enhancing your hairstyle has never been easier or more natural than with real hair tape in extensions. These extensions provide a flawless blend with your natural hair, offering both length and volume without the commitment of permanent procedures. Whether you’re aiming for a subtle boost or a dramatic transformation, real hair tape in extensions can help you achieve the look you desire. This comprehensive guide delves into everything you need to know about tape in extensions, including their benefits, application process, maintenance tips, and how to choose the best ones for your hair type and lifestyle.
Contents
hide
 What Are Tape-In Extensions?
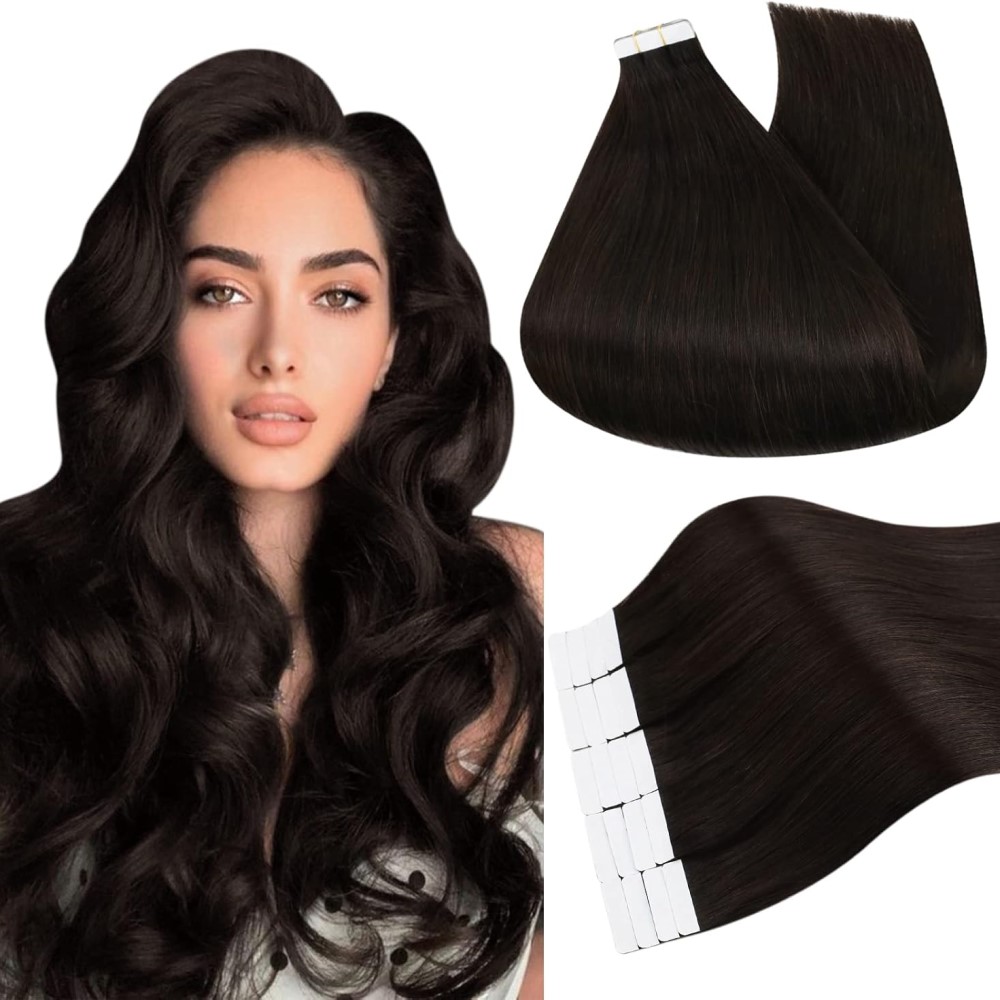
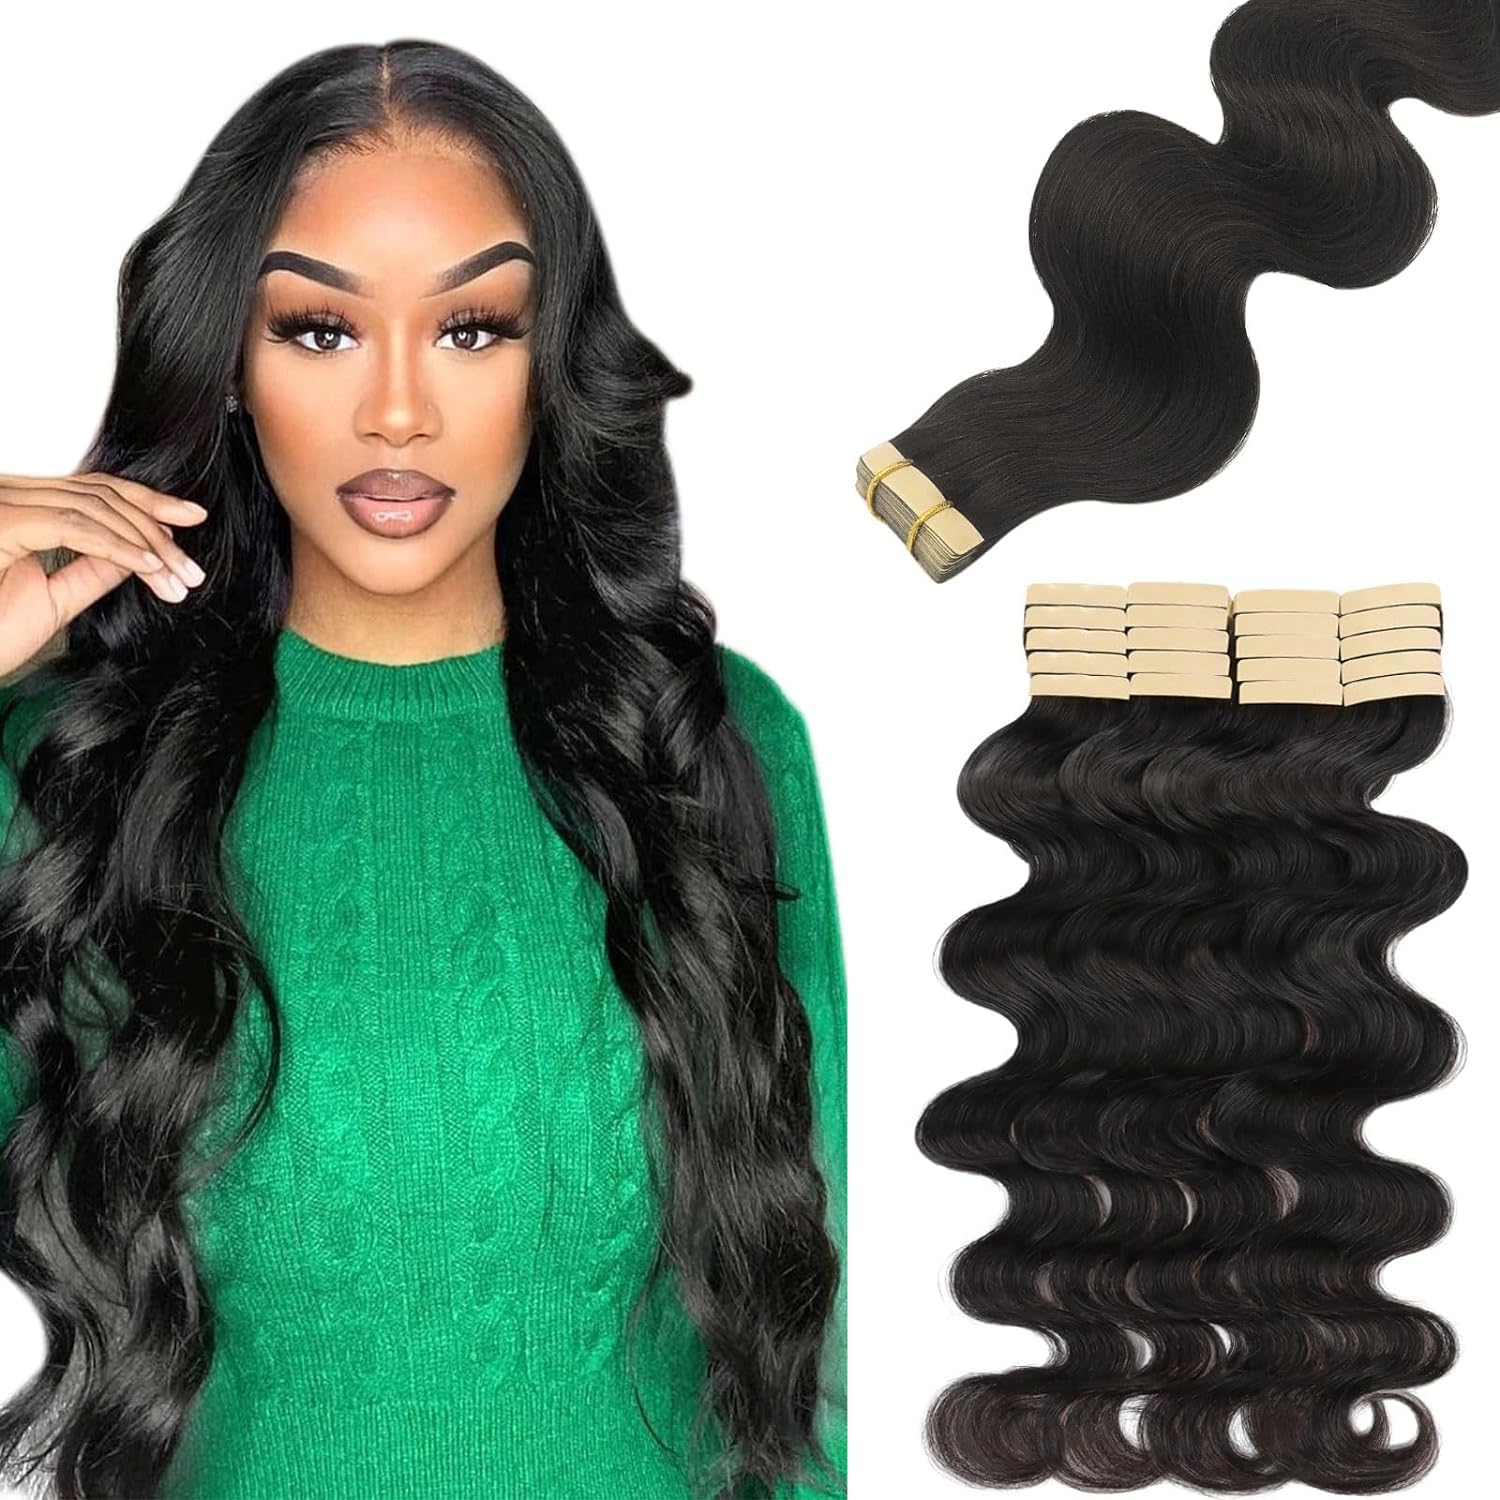
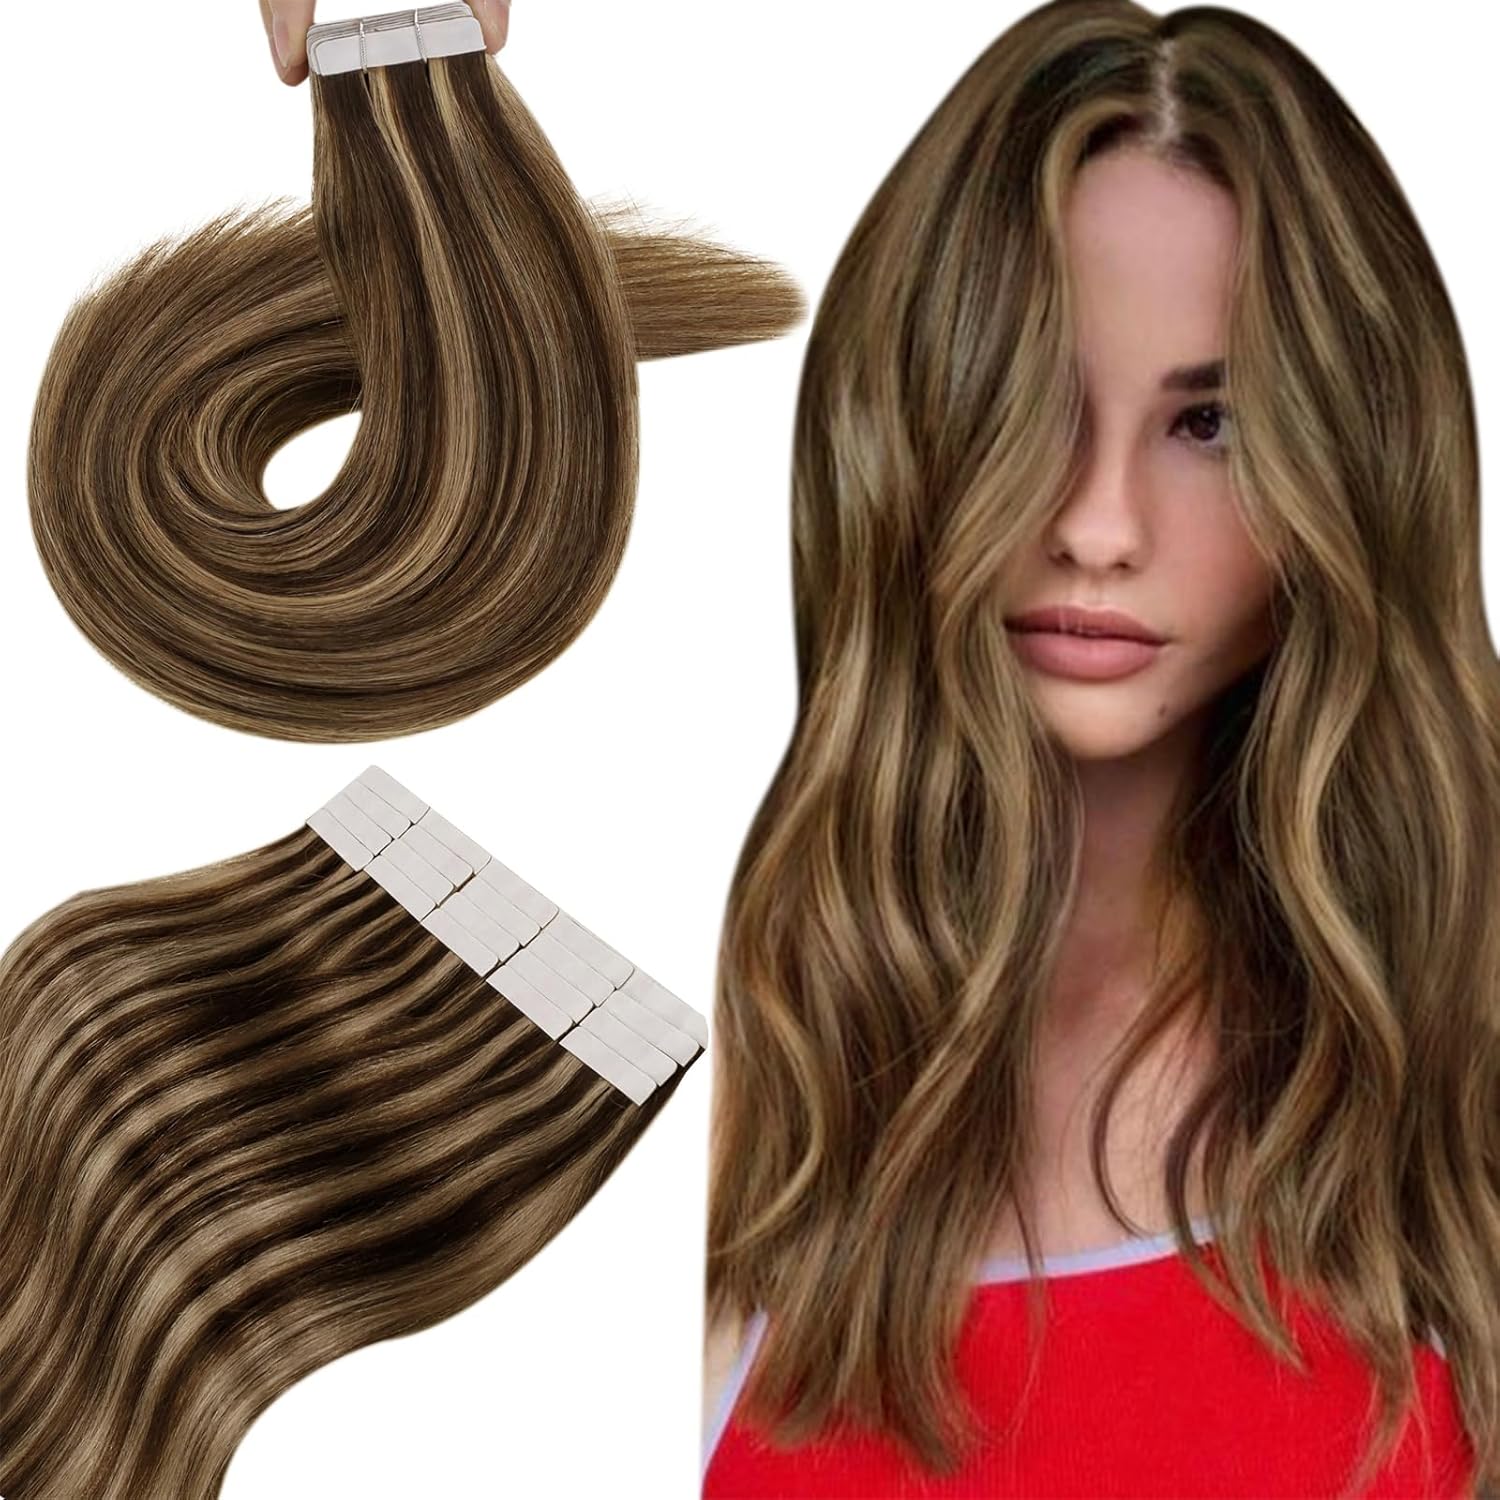
Tape-in extensions are semi-permanent hair extensions applied using ultra-thin adhesive tapes. They consist of real human hair or premium synthetic hair. These extensions blend seamlessly with natural hair, offering a natural and voluminous look. Tape-in extensions are lightweight and undetectable, making them a popular choice for hair transformations.
Overview of Tape-In Extension Types
There are primarily two types of tape-in extensions: human hair extensions and synthetic extensions.
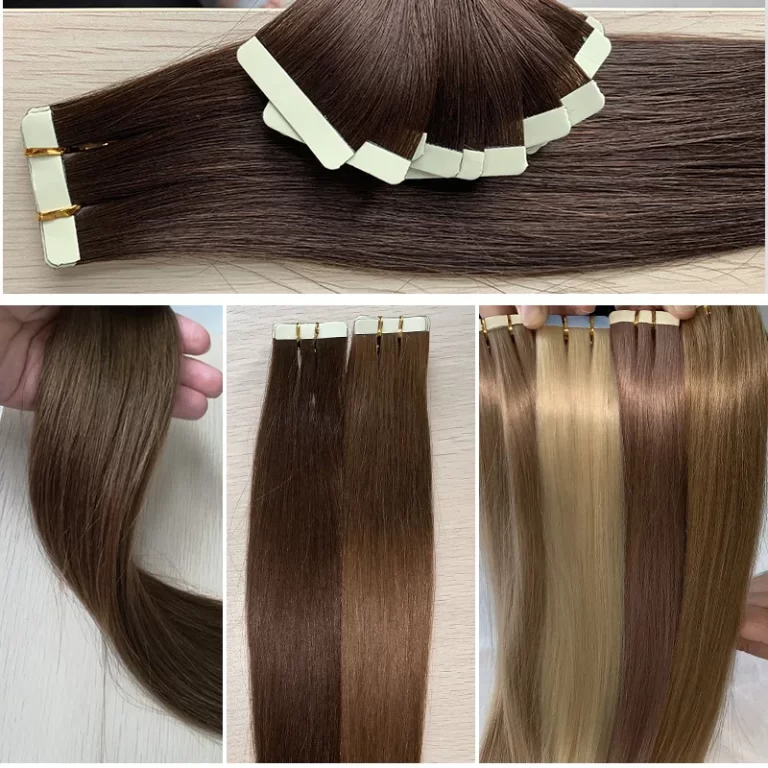
- Real Hair Tape-In Extensions: These are made of 100% human hair. They provide a natural look, easy styling, and long-lasting results. Human hair extensions can be dyed, heat-styled, and customized as per your preference.
- Synthetic Tape-In Extensions: These are made from artificial fibers. While more affordable, synthetic extensions lack a natural feel and cannot be heat-styled or dyed.
When choosing extensions, opt for real hair tape-in extensions for better quality and versatility.
Benefits of Tape-In Extensions Compared to Other Methods
Tape-in extensions offer several advantages over other hair extension methods:
- Ease of Application: Tape-in extensions are quick to install, taking about 1-2 hours.
- Natural Appearance: They lie flat against the scalp, creating a seamless and natural look.
- No Damage: They do not require heat or chemicals, reducing potential hair damage.
- Cost-Effective Maintenance: Tape-in extensions are reusable for multiple applications with proper care.
- Versatile Styling: With real hair tape-in extensions, you can curl, straighten, and style your hair effortlessly.
Tape-in extensions are a durable, natural, and versatile option for enhancing hair length and volume.
How to Choose the Right Tape-In Extensions
Selecting the right tape-in extensions ensures a natural look and long-lasting results. Here’s how to make the best choice:
Selecting the Best Hair Quality
Choosing high-quality hair is crucial for achieving a seamless and authentic appearance. Opt for real hair tape-in extensions for the following benefits:
- Natural Look: Real human hair mimics your own hair texture perfectly.
- Styling Flexibility: You can dye, curl, and straighten these extensions as desired.
- Durability: High-quality human hair extensions last longer with proper care.
Avoid synthetic extensions if you prioritize versatility and a more natural finish. While synthetic options are budget-friendly, they cannot be styled with heat or customized easily.
Determining the Correct Tape Adhesive for Longevity
The right tape adhesive ensures your extensions stay in place securely. Here are some tips:
- Strong Hold: Look for medical-grade adhesive tapes for better grip and durability.
- Skin-Friendly: Choose hypoallergenic tapes to avoid irritation.
- Easy Maintenance: Select tapes that are easy to remove without leaving residue.
Always consult with a professional if unsure about the adhesive type. Quality tape and proper application ensure a secure, long-lasting fit.
 Application Process for Tape-In Extensions
Tape-in extensions are simple to apply, but preparation and proper techniques are vital. By following a structured approach, you can ensure your extensions look natural and last longer.
Preparing Your Natural Hair for Extensions
Preparation is key for a seamless application. Here’s how to prepare your natural hair:
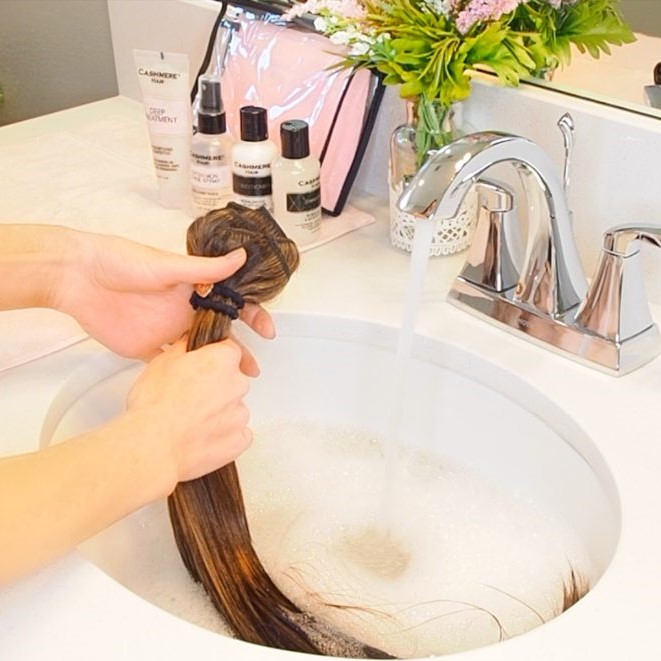
- Clean Your Hair: Wash your hair with a clarifying shampoo to remove residue. This ensures the adhesive tapes stick properly.
- Avoid Conditioner: Skip using conditioner before installation because it may affect tape adhesion.
- Dry Hair Thoroughly: Make sure your hair is completely dry and free of oils or moisture.
- Comb for Tangle-Free Hair: Detangle your hair using a wide-tooth comb to avoid complications during application.
- Section Your Hair: Separate your hair into neat, small sections for precise placement.
Proper preparation creates the foundation for smooth and long-lasting tape-in extensions.
Step-by-Step Guide to Installing Tape-In Extensions
Follow this step-by-step guide to install your real hair tape in extensions effectively:
- Measure the Tape Placement: Identify the areas where the extensions will go for a balanced look.
- Apply the First Tape: Secure the first tape underneath a small section of your natural hair.
- Sandwich the Hair: Place the second tape above the section for a firm grip.
- Press Tapes Together: Gently press the tapes together to secure the bond.
- Repeat the Process: Continue installing tapes along sections of your hair.
- Style for Blending: Trim or blend extensions as needed to match your natural hair.
Remember to install tape-in extensions at least an inch away from your scalp. Spacing allows flexibility and prevents discomfort. Proper application ensures a seamless, natural look that enhances your appearance.
Maintenance and Care for Tape-In Extensions
Proper care ensures the longevity and quality of your real hair tape-in extensions. Follow these steps for maintenance.
Daily Care Routine and Tips
- Brush Regularly: Use a soft-bristle brush to prevent tangling. Brush gently from roots to tips.
- Avoid Wet Hair Sleeping: Dry extensions fully before sleeping to prevent knots and damage.
- Wear Protection at Night: Tie your hair in a braid or use a silk bonnet to reduce friction.
- Limit Heat Exposure: Minimize heat styling to maintain extension quality and lifespan.
- Schedule Maintenance: Visit a professional every 6-8 weeks to reposition or replace extensions.
Products to Use for Tape-In Extensions
- Sulfate-Free Shampoo: Choose shampoos without sulfates to protect the adhesive bond.
- Lightweight Conditioner: Apply conditioner only to the ends to avoid weakening the tape.
- Leave-In Treatments: Use leave-in serums or creams for extra moisture and shine.
- Detangling Spray: Apply a detangler for easy brushing without pulling extensions.
- Heat Protectant: Shield extensions with a heat spray before using styling tools.
How to Avoid Damage or Tangling
- Avoid Overwashing: Wash extensions 2-3 times per week to prevent dryness.
- Don’t Pull: Handle extensions carefully to avoid pulling and tape lifting.
- Stay Away from Chemicals: Avoid harsh chemicals like bleach near the tape area.
- Protect Extensions While Swimming: Wear a swim cap to safeguard against chlorine or saltwater.
- Do Regular Checks: Look for adhesive loosening or damage and fix promptly.
With consistent care, real hair tape-in extensions will look stunning and feel natural for weeks.
 How to Remove Tape-In Extensions Safely
Removing tape-in extensions requires care to prevent damage to your natural hair. Follow these steps to ensure a smooth and gentle removal process.
Tools and Products Needed for Removal
- Adhesive Remover: Use a high-quality tape-in extension remover to dissolve the glue effectively.
- Tail Comb: A fine-tooth comb helps in separating the hair cleanly and removing residue.
- Oil-Based Treatment: Use coconut or olive oil to loosen stubborn adhesive after applying the remover.
- Clips: Hair clips help in sectioning your hair for precise removal.
- Soft Towels: Towels protect your neck and clothing from dripping remover.
- Gentle Shampoo: Opt for a sulfate-free shampoo to cleanse adhesive residue after removal.
Step-by-Step Removal Process
- Section Your Hair: Divide your hair into small sections. Use clips to keep portions organized.
- Apply the Remover: Use adhesive remover directly on the tape bond. Let it sit for 1-2 minutes.
- Gently Slide Extensions Off: Slowly separate the tapes using your fingers without pulling the hair.
- Remove Residue: Apply oil-based treatment on leftover adhesive, massaging gently into the roots.
- Comb Through Hair: Use the tail comb to remove any sticky residue or tangles.
- Wash Your Hair: Clean your hair thoroughly using a gentle shampoo to restore freshness.
- Inspect Hair Condition: Check for signs of dryness or damage. Apply a conditioning mask if needed.
Proper tools and a careful process ensure damage-free removal of your real hair tape-in extensions.
Styling Tape-In Extensions
Real hair tape-in extensions are versatile for styling, offering endless possibilities to personalize your look. Whether you want sleek straight hair or bouncy curls, proper styling techniques ensure your extensions stay gorgeous.
Heat Styling Tips
Heat styling can enhance the beauty of real hair tape-in extensions, but it requires caution. Follow these simple tips to protect your extensions:
- Use a Heat Protectant: Always apply a heat protectant spray to shield your extensions from damage.
- Set Proper Heat Levels: Use a low to medium heat setting to prevent weakening the adhesive tape.
- Avoid Tape Bonds: Keep styling tools away from the tape area to maintain their hold.
- Work in Sections: Style small sections of hair for even heat distribution and precise results.
- Check for Extension Quality: Avoid excessive heat to maintain the softness and shine of the extensions.
With these tips, you can safely curl, straighten, or wave your tape-in extensions without compromising their durability.
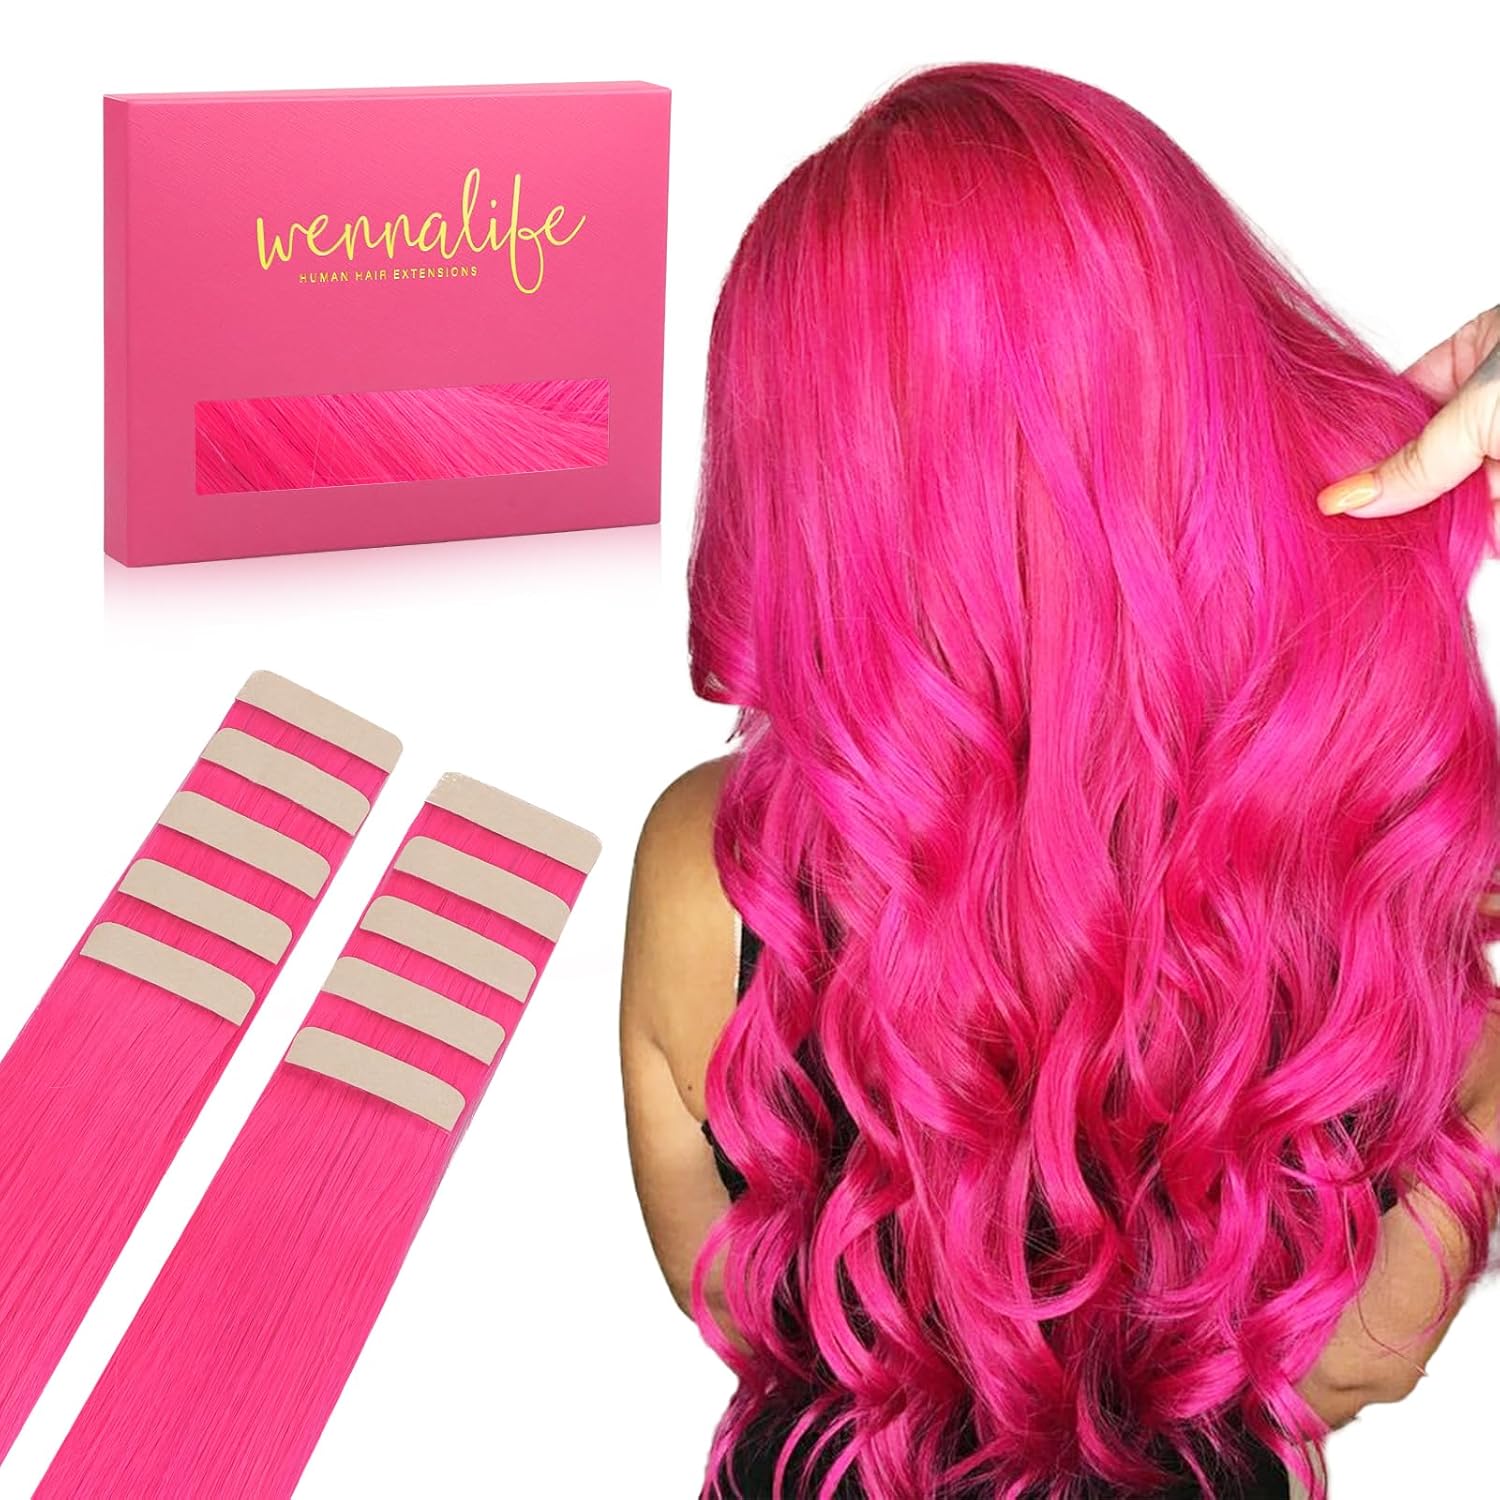
Creating Various Looks with Tape-In Extensions
Real hair tape-in extensions let you experiment with different styles to suit any occasion. Here are some ideas to inspire your creativity:
- Classic Straight Hair: Use a flat iron to achieve a smooth, polished look perfect for formal settings.
- Beach Waves: Opt for loose curls using a curling wand for a relaxed, summer-inspired style.
- High Ponytail: Tie your hair into a sleek ponytail, ensuring the tapes are covered seamlessly.
- Elegant Updos: Create a chic bun or braid for weddings or special events.
- Voluminous Curls: Add volume at the roots and curl large sections for a glamorous evening appearance.
To blend extensions with natural hair, finish each style with a light hold hairspray. Experiment with your real hair tape-in extensions to find the perfect look for every occasion.
 Potential Challenges and Solutions
Using real hair tape-in extensions can be straightforward. However, some issues might arise. Here’s how to tackle them and maintain your extensions effectively.
Common Issues with Tape-In Extensions
Understanding common problems can help you prevent or resolve them effortlessly. Here are typical concerns:
- Slipping or Falling Extensions: Poor adhesive or incorrect installation can lead to extensions slipping.
- Tangled Hair: Lack of proper care causes tangling, especially at the roots.
- Visible Tapes: Incorrect placement or improper blending may expose the adhesive strips.
- Tape Adhesive Weakening: Using oily products near the roots can loosen the adhesive over time.
- Extension Shedding: Frequent brushing or low-quality hair may cause strands to fall out.
Addressing these issues quickly helps maintain the quality and appearance of your extensions.
Troubleshooting Tips for Better Results
When challenges arise, use these practical solutions to resolve them effectively:
- Secure Installation: Seek professional help for proper installation. Use medical-grade adhesive for lasting hold.
- Detangle Regularly: Brush daily with a soft-bristle brush to keep your hair smooth and knot-free.
- Blend Extensions Properly: Trim or layer extensions to blend naturally with your hair length and texture.
- Use Recommended Products: Stick to sulfate-free shampoos and lightweight conditioners to preserve tape strength.
- Protect During Sleep: Tie hair in a loose braid or wear a silk cap to minimize damage overnight.
- Avoid Oily Products: Keep heavy oils away from the attachment points to avoid weakening the tape.
- Repair on Time: Reapply or reposition slipping extensions promptly to prevent additional damage.
By anticipating these challenges, you can ensure your real hair tape-in extensions remain radiant and long-lasting.
FAQs About Real Hair Tape-In Extensions
How Long Do Tape-In Extensions Last?
The lifespan of real hair tape-in extensions depends on their quality and care routine. With proper maintenance, high-quality extensions can last up to 6–8 weeks per application. They are reusable for up to three or four reapplications, extending their life to several months. Following a strict care routine, such as avoiding over-washing and using the right products, is essential. Always visit a professional to reinstall extensions and ensure durability.
Are Tape-In Extensions Safe for All Hair Types?
Yes, tape-in extensions are suitable for most hair types, including thin, fine, or thick hair. They are lightweight and distribute evenly, reducing the risk of strain on your natural hair. For fine or fragile hair, consult a professional to ensure proper application and avoid damage. Choosing real hair tape-in extensions adds flexibility and blends seamlessly with your natural hair, making them a safe and versatile option for all.
Conclusion
In summary, real hair tape in extensions offer a myriad of benefits that make them a standout choice for anyone looking to enhance their hair. From their natural appearance and versatility in styling to their lightweight comfort and low maintenance, tape in extensions provide an effective solution for achieving longer, fuller hair without the drawbacks associated with other extension methods. By understanding how to choose, apply, and maintain your extensions, you can enjoy a seamless and luxurious hair experience that elevates your look and boosts your confidence.